Step-by-Step Guide to Installing a Patio with Reclaimed Bricks
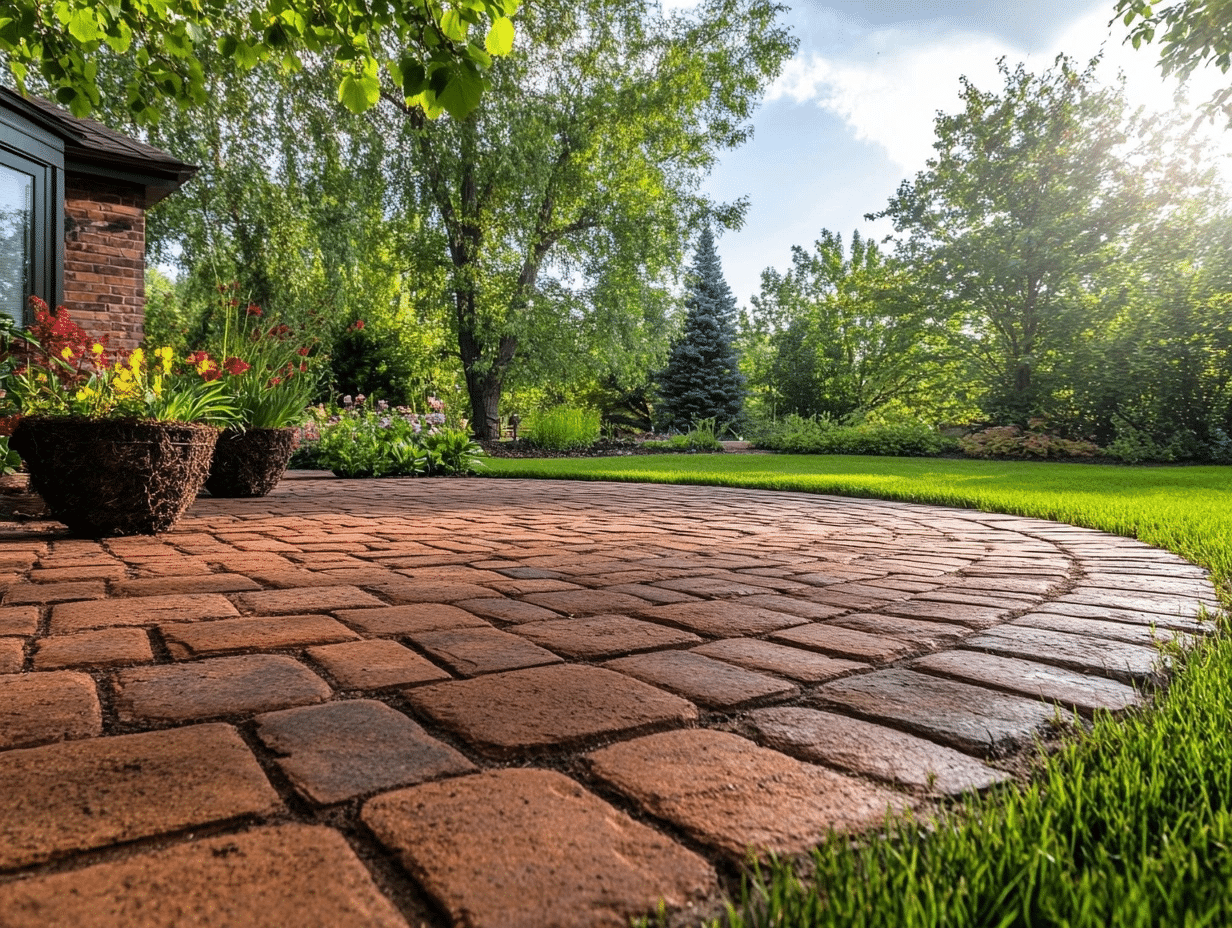
Are you looking to add charm to your outdoor space? Well, a patio made from reclaimed bricks might be just what you need. These bricks bring character and warmth that new materials can’t match.
However, creating a patio with old bricks isn’t just good for your yard—it’s also better for the environment. Reusing materials keeps them out of landfills and reduces the need for new production.
This guide will walk you through each stage of building your brick patio. From planning the layout to the finishing touches, you’ll learn all the steps needed to complete this project.
By the end, you’ll have a beautiful, unique outdoor space to enjoy for years to come.
Ready to start your patio project? Let’s begin.
Why Choose Reclaimed Bricks for Your Patio
Reclaimed bricks offer so many benefits for your patio project. These older bricks have stood the test of time, proving their strength and quality.
Most reclaimed bricks come from older buildings where craftsmanship mattered more than speed of production. New ones can’t match the colors of the used bricks.
However, years of wear give them rich tones and varied shades you won’t find in a store, and your patio becomes truly one of a kind when built with bricks that each tell a story.
Money matters, too. Reclaimed bricks, especially those sourced from demolition sites or salvage yards, are often much cheaper than new ones. This can make your project budget go further.
Older bricks also differ in size from modern ones. They tend to be slightly larger and less uniform, giving your patio a handcrafted look that feels more natural in outdoor settings.
When guests visit, your reclaimed brick patio becomes a talking point – something special that shows your care for both style and sustainability.
Basic Tools & Materials Needed for Building a Patio
Before you start working on your patio project, you’ll need to gather the right tools.
Materials Required
- Reclaimed Bricks
- Sand
- Gravel
- Landscape Fabric
- Level
- Tamper
Tools Required
- Shovel
- Rake
- Wheelbarrow
- String and Stakes
- Rubber Mallet
- Measuring Tape
- Brick Hammer
- Knee Pads
- Work Gloves
- Safety Glasses
- Tamper
Step-by-Step Guide to Installing a Patio with Reclaimed Bricks
Building a patio with reclaimed bricks takes some planning and effort, but the results are worth it. The process isn’t complicated once you break it down into small tasks.
Anyone with basic DIY skills can complete this project over a weekend or two. Before jumping in with your shovel and bricks, it helps to understand the whole process from start to finish.
1. Planning and Measuring Your Patio Area
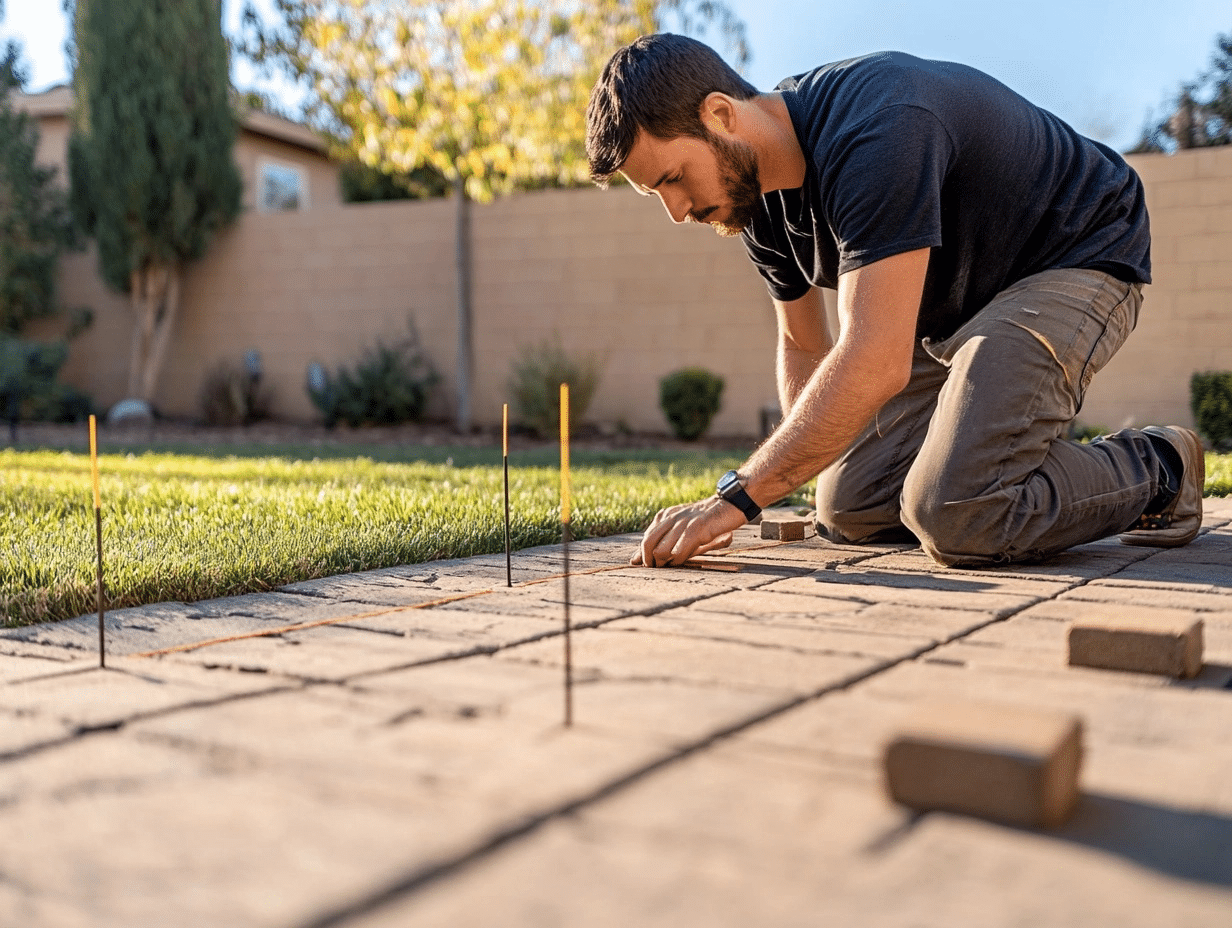
The first and most important part of your patio project is getting the size and shape right. Good planning now saves time, money, and headaches later.
You need to know exactly how much space you have and how many bricks you’ll need.
How to Do It
- Mark the corners of your planned patio with stakes and connect them with string.
- Measure the length and width of your marked area with a tape measure.
- Multiply length by width to find the total square footage.
- Count how many bricks fit in one square foot and multiply by your total area.
- Add 10% extra bricks to account for cuts, breaks, and mistakes.
2.Preparing the Ground for Installation
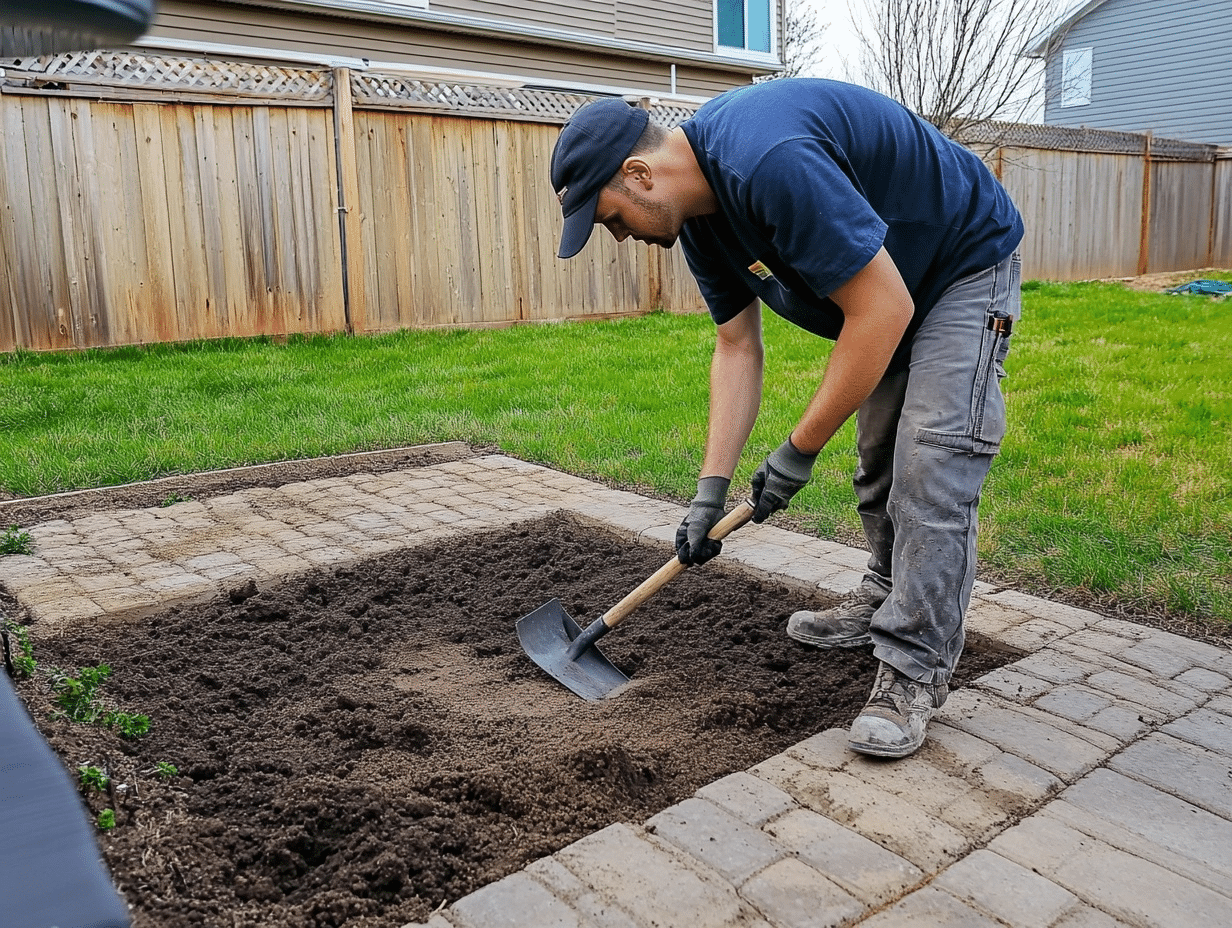
Proper ground preparation creates a strong foundation for your patio. This step prevents future problems like uneven settling or poor drainage.
Taking time here ensures your patio stays level and lasts for many years, even through changing seasons.
How to Do It
- Remove all grass, plants, and roots from the marked area.
- Dig down about 8 inches below your desired final patio height.
- Check that the soil is sloped slightly away from your house for drainage.
- Compact the soil firmly using a tamper tool.
- Test for low spots by laying a long level across the area.
3. Laying a Solid Foundation with Gravel and Sand
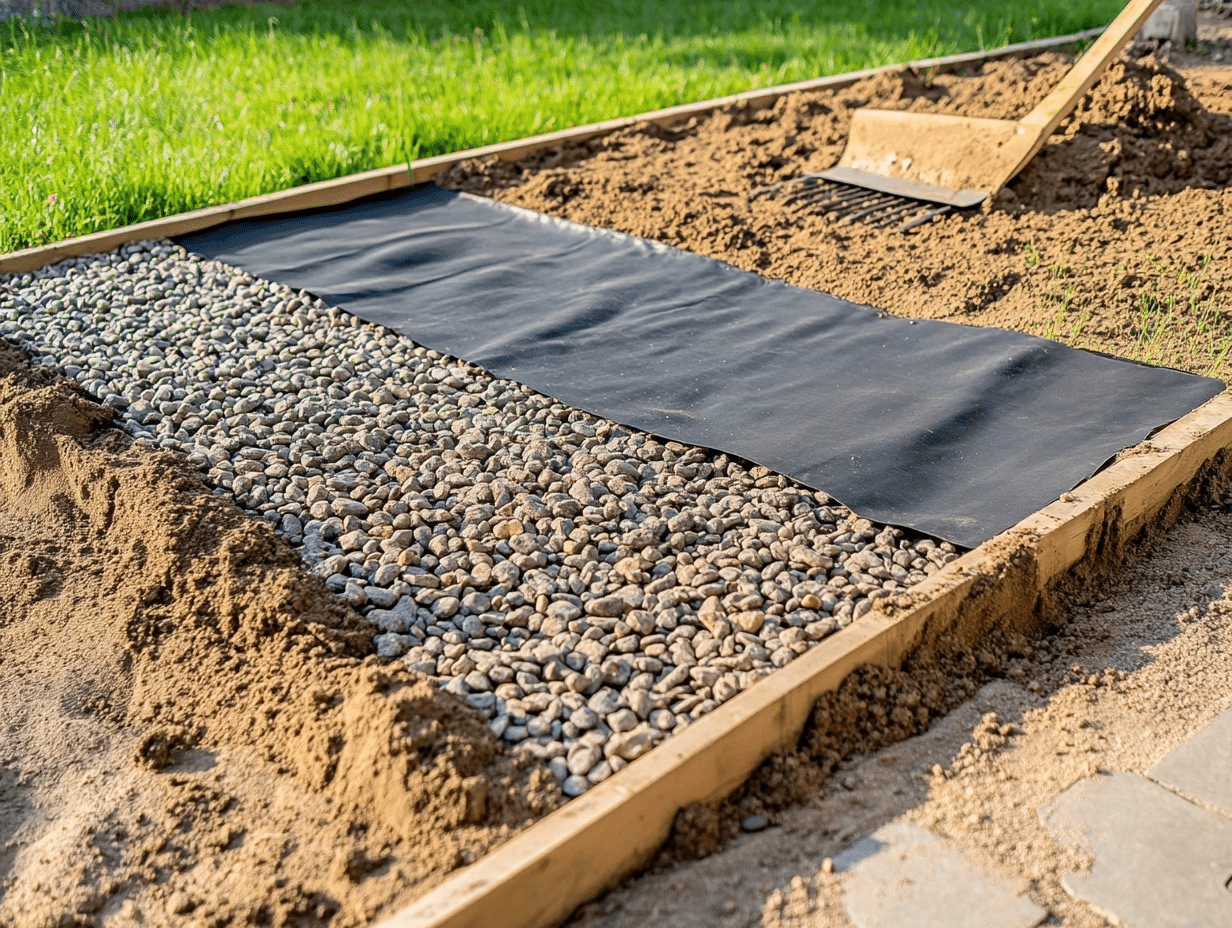
The foundation layers make all the difference in how well your patio holds up over time. Gravel provides drainage to prevent water pooling, while sand creates a smooth bed for placing bricks.
These materials work together to keep your patio stable through freezing, thawing, and heavy rain.
How to Do It
- Spread landscape fabric across the entire dug-out area.
- Add a 4-inch layer of gravel and rake it level.
- Compact the gravel thoroughly with a tamper or plate compactor.
- Pour a 2-inch layer of sand over the gravel.
- Level the sand carefully using a long, straight board.
4. Selecting and Sorting Your Reclaimed Bricks
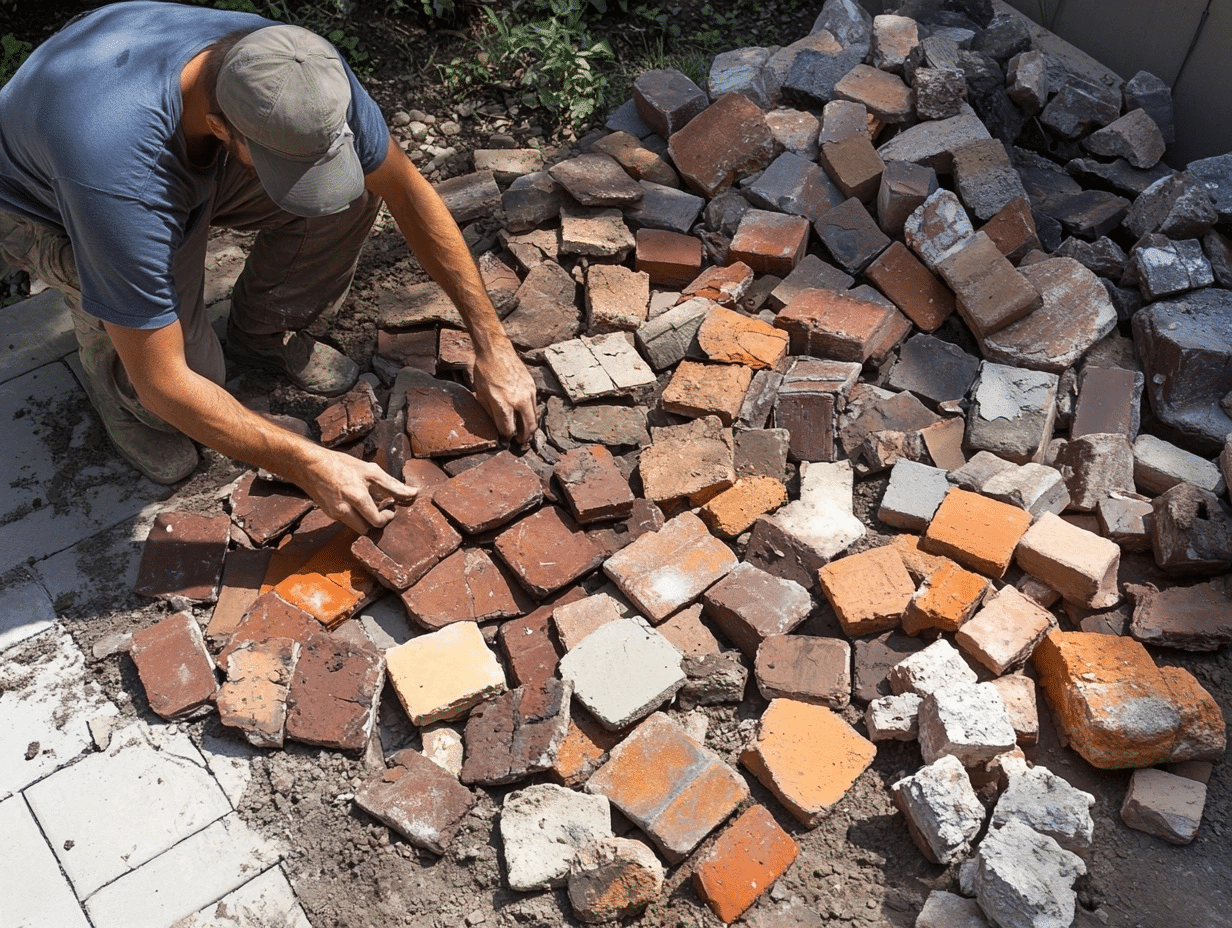
Not all reclaimed bricks are created equal. Some may be too damaged to use, while others might have unique colors worth featuring in visible areas.
Sorting your bricks before starting helps create a more beautiful final result and makes the laying process much faster.
How to Do It
- Inspect each brick for major cracks or structural damage.
- Group bricks by color, size, and condition.
- Set aside the most attractive bricks for edge areas or patterns.
- Clean off excess mortar with a masonry chisel if needed.
- Count your usable bricks to confirm you have enough for the project.
5. Installing the Bricks in a Pattern
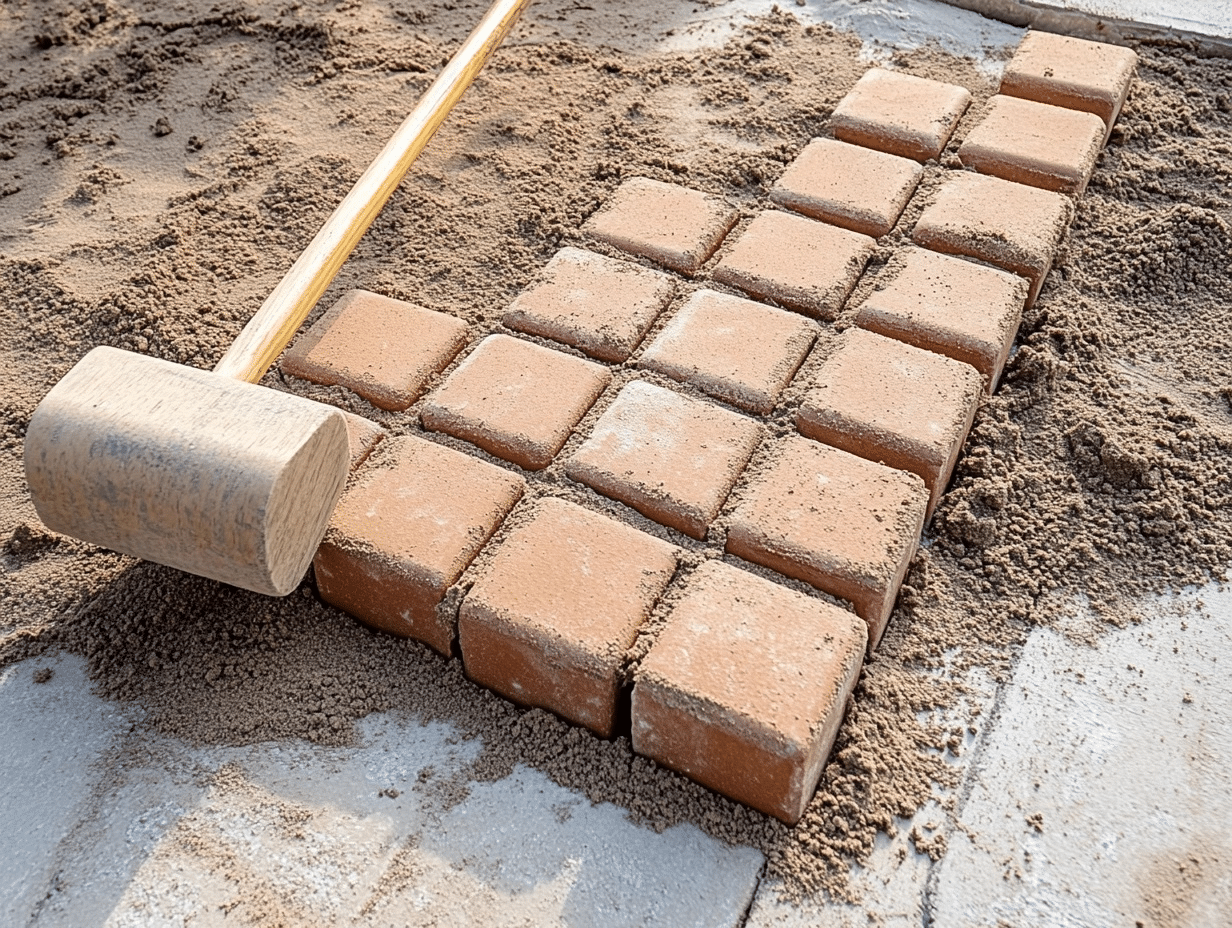
The way you arrange your bricks affects both the look and strength of your patio. Common patterns like herringbone, basket weave, or running bond each give the space a different feel.
The pattern also determines how well the bricks lock together, which affects the overall stability of your patio surface.
How to Do It
- Start laying bricks from one corner, working toward the opposite side.
- Place each brick firmly in the sand, tapping down gently with a rubber mallet.
- Check frequently with a level to ensure the surface stays even.
- Maintain consistent spacing between bricks (usually 1/8 to 1/4 inch).
- Use a string line along the edges to keep the rows straight and aligned.
6. Cutting Bricks for The Perfect Fit
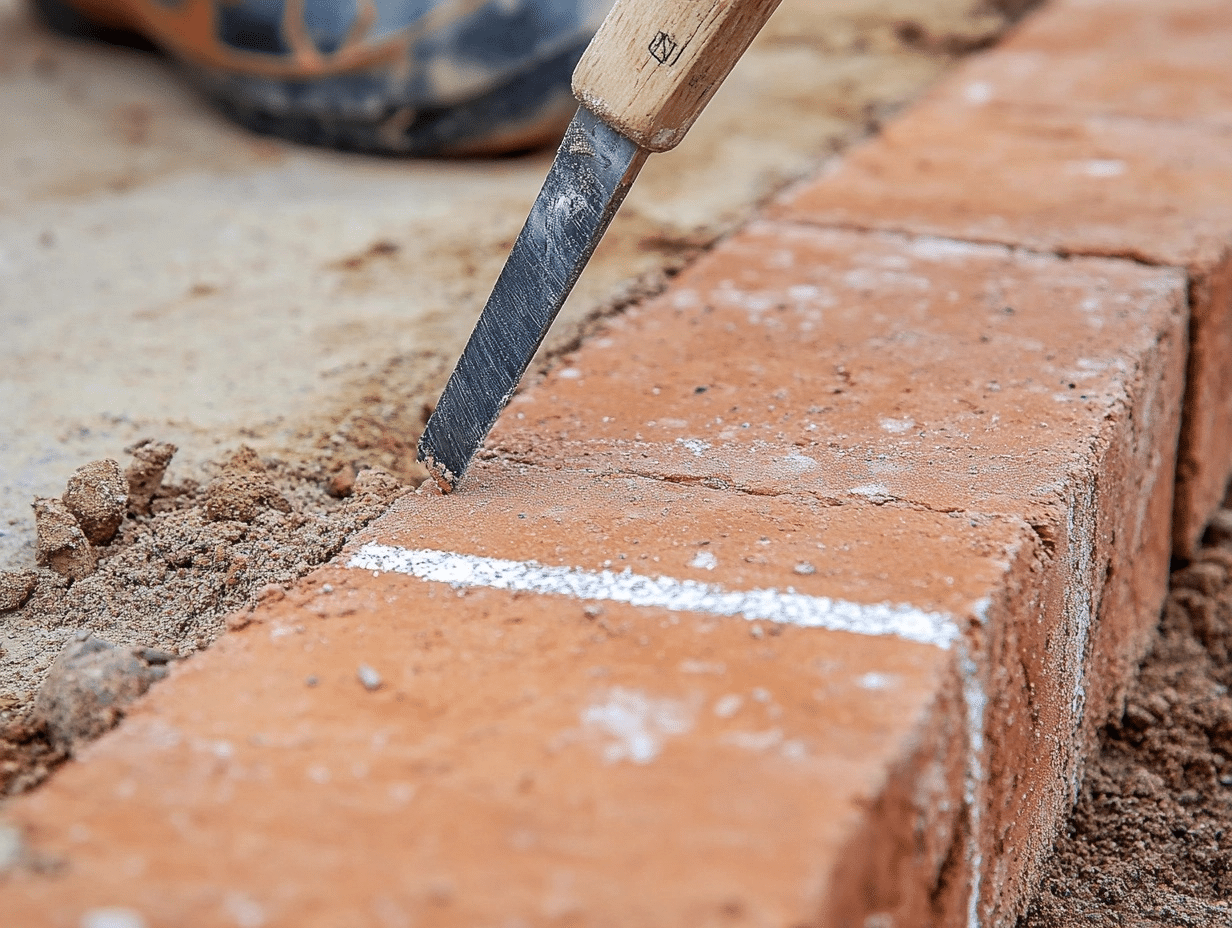
Getting your bricks to fit together neatly is key to a good-looking patio. Not all spaces will fit whole bricks perfectly, so you’ll need to cut some bricks to size for edges, corners, and around features.
Proper cutting makes your patio look clean and well-made. It’s not hard to do with the right tools and a bit of practice.
How to Do It
- Mark your brick where you need to cut it using a pencil and straight edge.
- Score along the mark with a brick chisel and hammer, making a clear line.
- Place the brick on soft ground or sand with the score line facing up.
- Hit the chisel firmly along the score line until the brick splits.
- Smooth any rough edges with the chisel or a brick rub stone.
7. Leveling and Compacting the Bricks
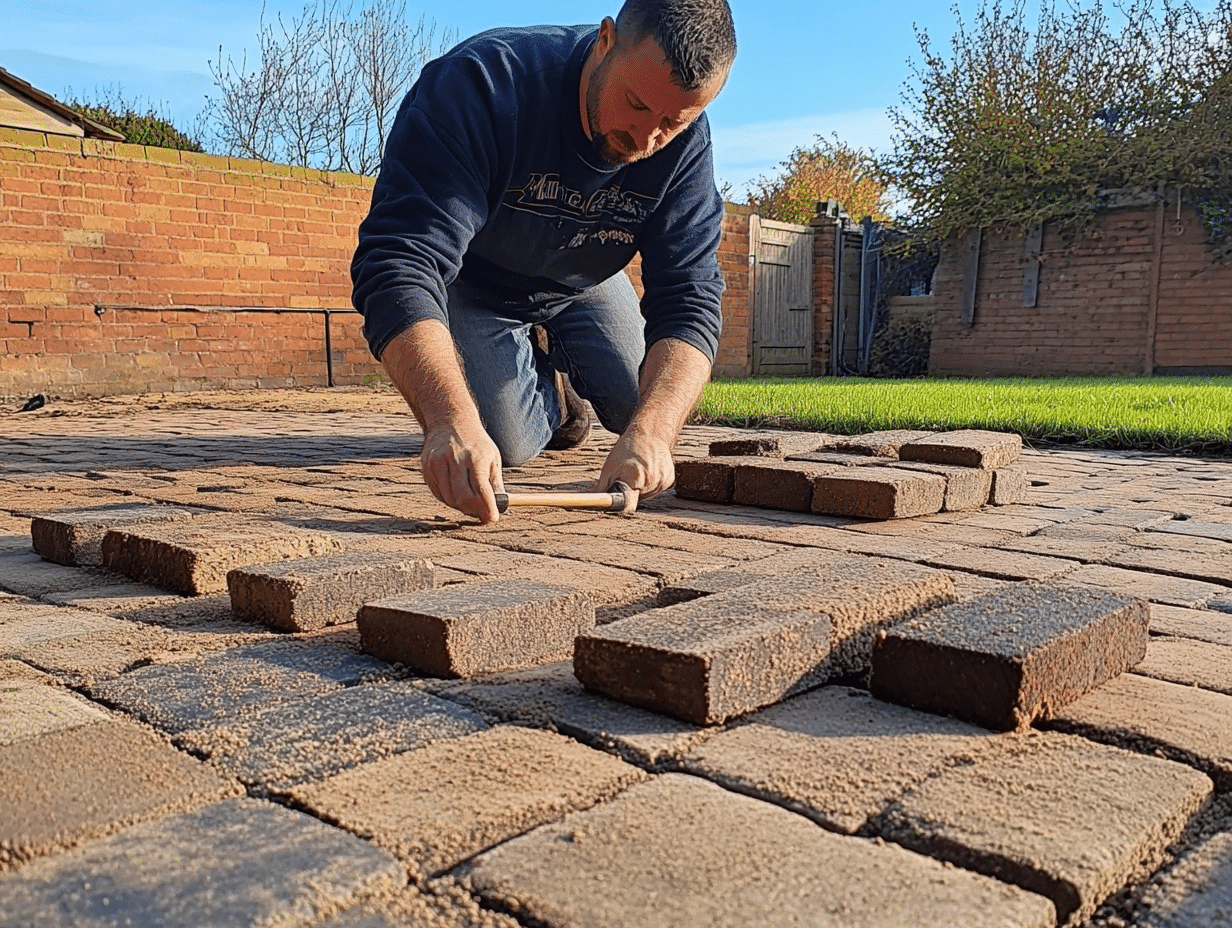
When laying bricks, it’s important to ensure they’re level and firmly pressed down. Uneven or loose bricks can cause tripping hazards and will not last as long.
How to Do It
- Use a rubber mallet to tap each brick into place gently.
- Check levelness with a spirit level across multiple bricks at once.
- Fill the gaps between bricks with fine sand to help lock them in place.
- Walk across the newly laid area to spot any wobbling or uneven bricks.
- Make small adjustments by adding or removing sand beneath problem bricks.
8. Filling the Joints with Sand or Mortar
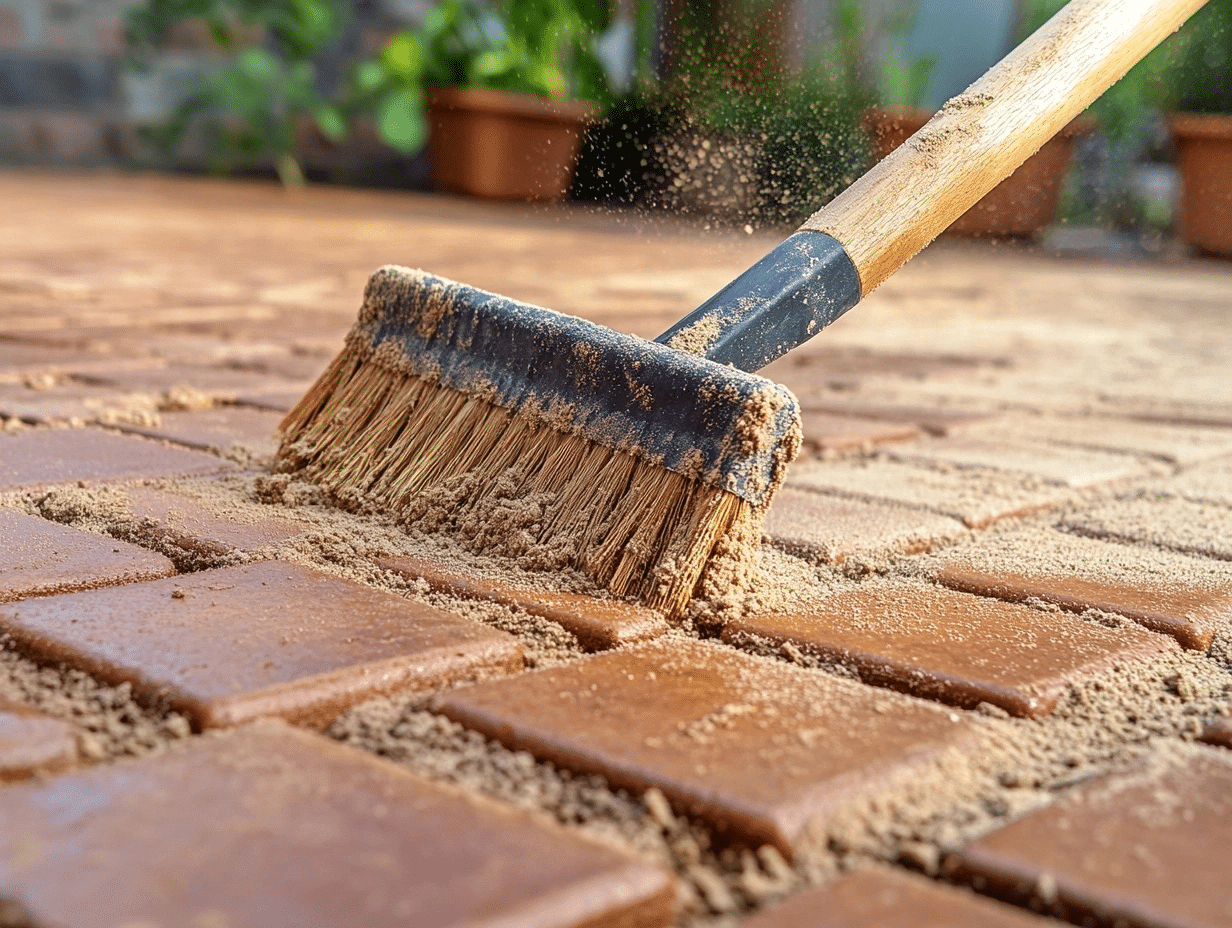
Filling the spaces between bricks helps keep them stable and prevents weeds from growing through. This step turns separate bricks into a solid surface.
How to Do It
- Sweep dry sand or mortar mix across the surface of your bricks.
- Use a broom to push the material into all the gaps between the bricks.
- Spray lightly with water if using mortar to help it set properly.
- Remove any extra sand or mortar from the brick surfaces.
- Allow at least 24 hours for everything to settle before walking on it.
9. Sealing and Maintaining Your Reclaimed Brick Patio
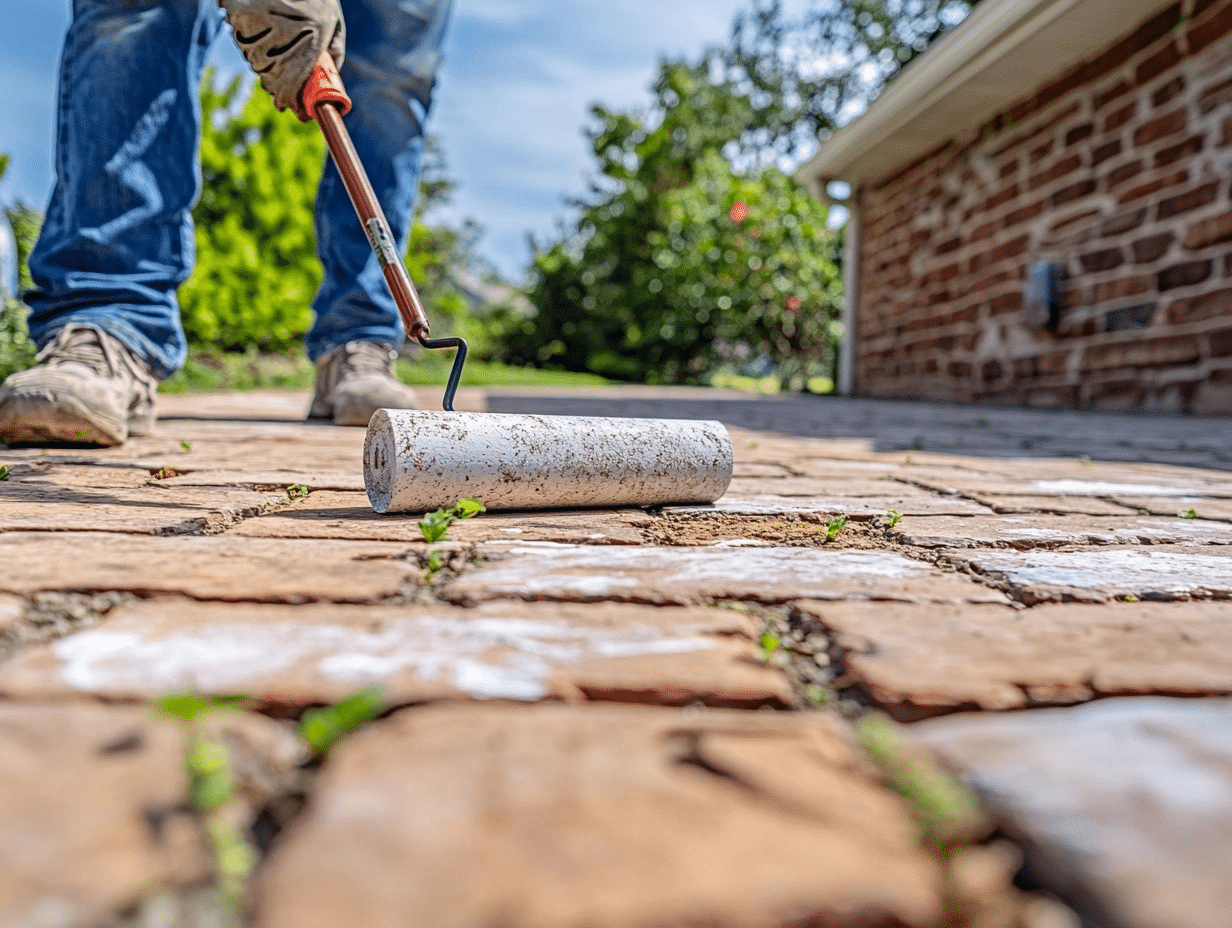
Sealing your brick patio helps protect it from stains, weather damage, and wear. This final step adds years to the life of your brickwork.
Regular upkeep is also needed to keep everything looking good and working well.
How to Do It
- Apply a brick sealer with a roller or sprayer when the surface is completely dry.
- Clean the patio twice a year with a stiff brush and mild soap.
- Pull weeds as soon as you spot them to prevent root damage.
- Reapply sealer every 3-5 years, depending on wear and weather.
- Fix any loose or sunken bricks right away before the problem gets worse.
Common Mistakes to Avoid While Installing
- Skipping the planning phase and rushing into placing bricks without a clear design in mind.
- Not preparing a solid base leads to uneven settling and wobbly bricks over time.
- Placing bricks too close together without leaving room for sand or mortar between them.
- Using regular soil instead of proper sand or gravel beneath your brick layout.
- Forgetting to check for levelness as you go, resulting in tripping hazards and poor drainage.
- Ignoring the need for a slight slope, which can cause water to pool on your patio surface.
- Neglecting to seal the finished patio, leaving it open to stains and faster weathering.
Conclusion
With proper care, your reclaimed brick patio can become the heart of your outdoor living space. Remember that good maintenance will keep it beautiful for decades.
The time and effort you put into this project pays off every time you step outside.
What’s next? Take photos of your finished project to inspire others. Or perhaps plan your first gathering to show off your handiwork. The skills you’ve learned can be applied to other hardscaping projects around your yard.
Don’t forget to share this guide with friends who might want to create their own unique outdoor spaces using reclaimed materials.
Frequently Asked Questions
Is It Cheaper to Buy Reclaimed Bricks?
Reclaimed bricks often cost more than new ones because of cleaning and sorting labor. However, you may find good deals from demolition sites or through online marketplaces.
What are the Disadvantages of Reclaimed Bricks?
Reclaimed bricks can vary in size, color, and condition. They might need cleaning, have old mortar attached, and be harder to find in large matching quantities.
What is the Difference Between Recycled and Reclaimed Bricks?
Reclaimed bricks are taken directly from old structures and reused. Recycled bricks are processed and crushed to make new products, such as aggregate or new bricks.
How Heavy is a Reclaimed Brick?
A standard reclaimed brick weighs about 4-5 pounds (1.8-2.3 kg). Due to their denser materials, old clay bricks can be slightly heavier than modern ones.

