How to Make a Charcuterie Board Out of Wood

There’s something undeniably satisfying about serving snacks on a handmade board. Whether it’s for a casual brunch or a fancy dinner party, a handmade board becomes the star of the table.
Creating one from scratch is not only fun but also a great way to add a personal touch to hosting. From picking the perfect wood to adding those smooth finishing touches, it’s an enjoyable process anyone can tackle.
No woodworking expertise is required. Follow along to find out how to make a charcuterie board out of wood, and get ready to impress at your next get-together.
Must-Have Supplies for Charcuterie Making
| Items | Purpose | Estimated Cost (USD) |
|---|---|---|
| Hardwood Board | Base material for the board | $25 – $50 |
| Sandpaper (Assorted grits) | For smoothing the surface | $5 – $10 |
| Food-safe wood Finish / Oil | To seal and protect the wood | $10 – $15 |
| Wood Glue (Optional) | For adding any design elements | $5 – $8 |
| Clamps (Optional) | To secure wood while working | $15 – $20 |
| Wood Burning Tool (Optional) | For custom designs or personal touches | $20 – $30 |
| Cleaning Cloth | For applying oil and wiping dust | $2 – $5 |
| Protective Gloves | To keep hands safe during finishing | $3 – $6 |
Total Estimated Cost: $85 – $144
Note: Costs can vary depending on wood choice and optional tools. Using supplies already at home can help lower the total.
Step-by-Step Charcuterie Board Tutorial
With supplies ready and the perfect wood in hand, it’s time to bring the charcuterie board to life. Follow these step-by-step instructions to create a board that’s both beautiful and functional.
Step 1: Measure and Mark the Board
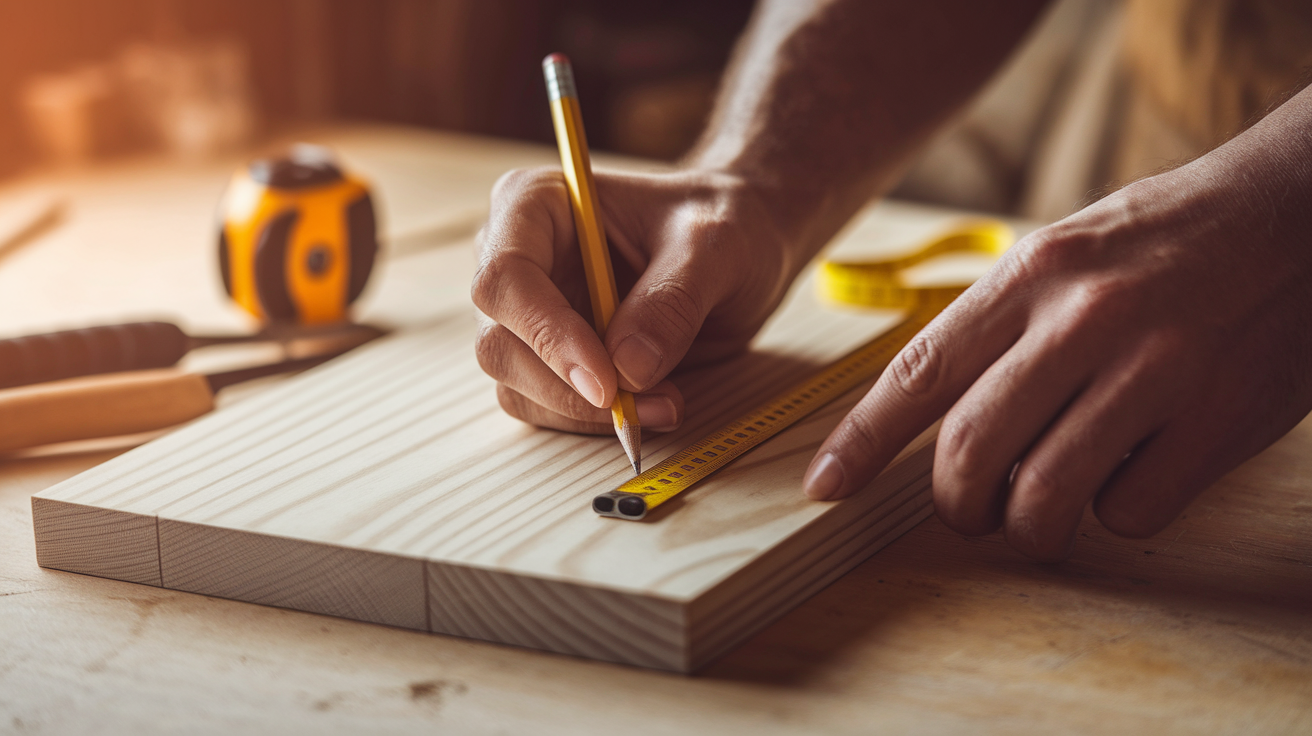
Start by deciding on the board’s size and shape. Use a measuring tape and a pencil to mark out the dimensions clearly on the wood surface.
A typical size is around 12×18 inches, but feel free to adjust based on personal preference. Mark any curves or handle shapes. Clear markings make cutting and shaping much easier in the next steps.
Step 2: Cut and Shape the Wood
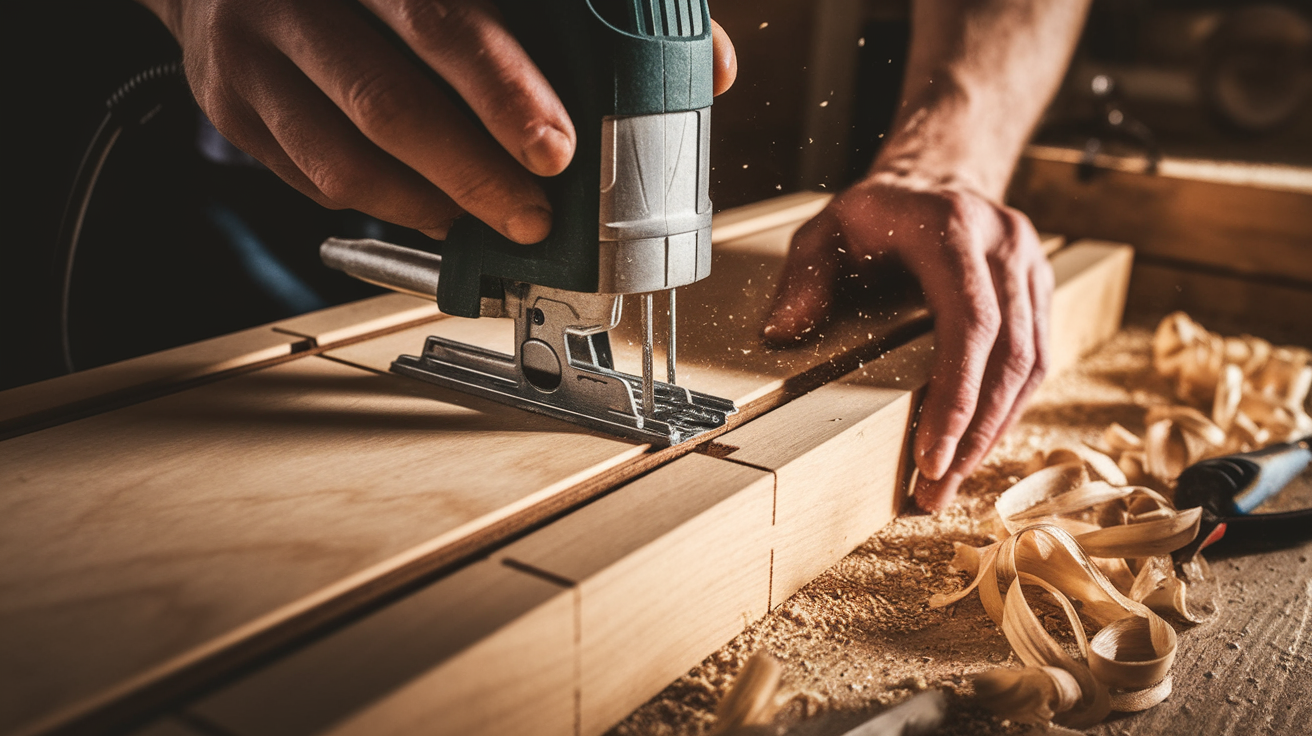
Using a saw, carefully cut along the marked lines. If the design includes rounded edges or handles, use a jigsaw for smoother curves.
Take your time with this step to maintain accuracy and avoid splintering. Once the main shape is cut, double-check for any rough edges and smooth them out with initial sanding before refining further.
Step 3: Sand the Surface Smooth
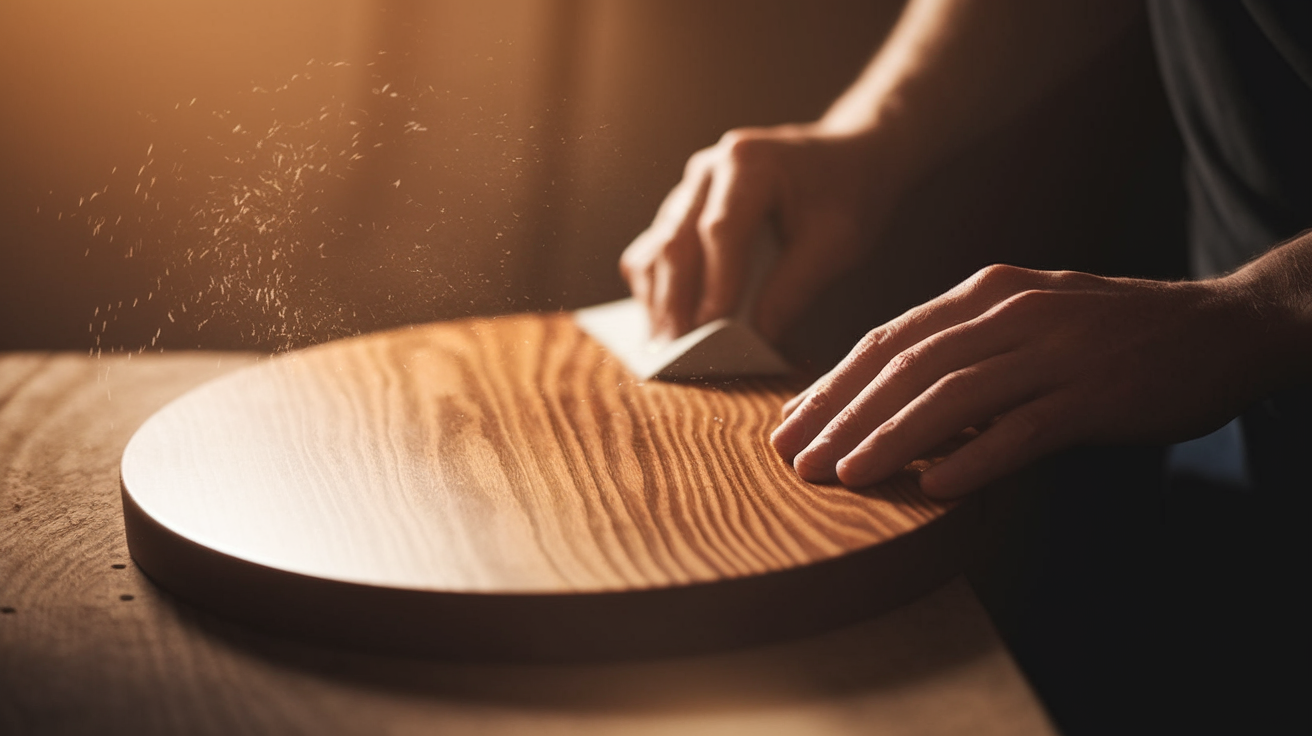
Begin sanding the board thoroughly, starting with coarse sandpaper (like 80 grit) to remove rough spots and saw marks.
Gradually move to finer grits (up to 220) for a silky-smooth finish. Sand all edges and corners to prevent splinters. A well-sanded surface not only looks better but also ensures safety and comfort when serving food.
Step 4: Apply Food-Safe Finish
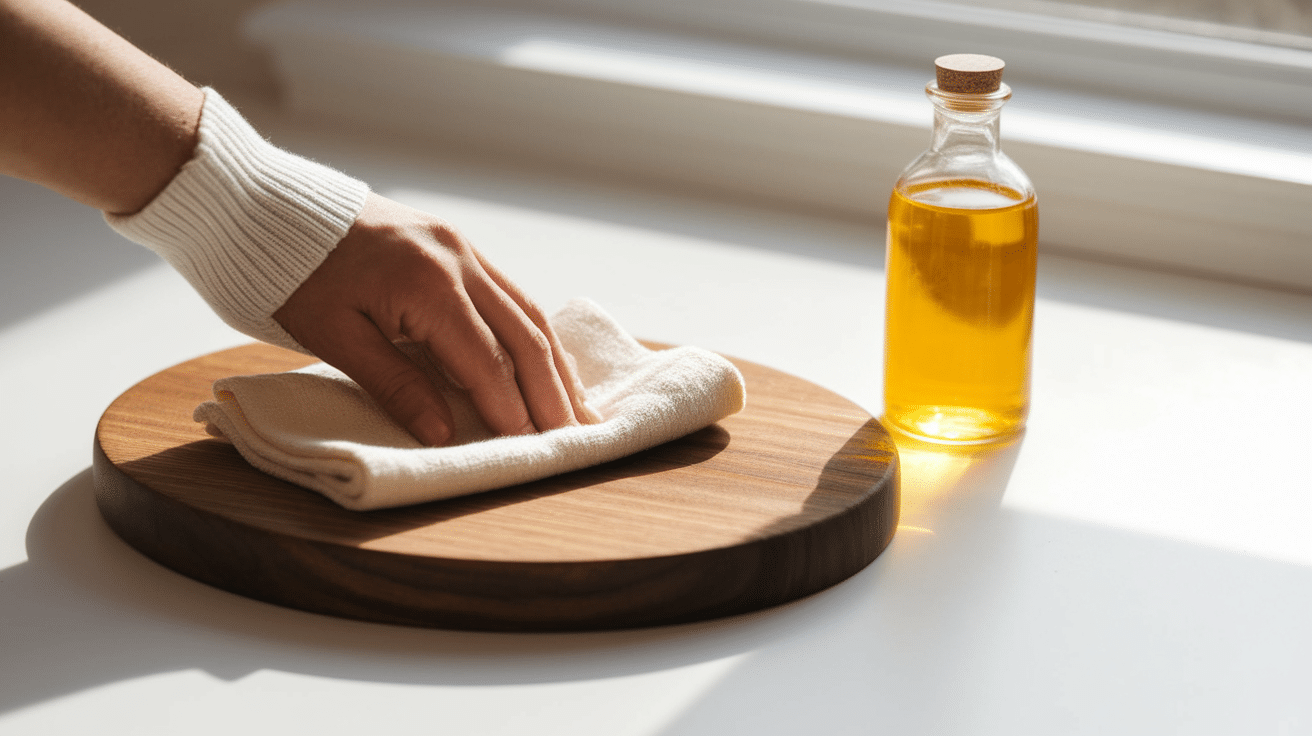
Wipe the board clean of dust, then apply a food-safe finish like mineral oil or specialized butcher block conditioner.
Use a clean cloth to spread the finish evenly across the surface, including the edges. Allow it to soak in for a few hours, then wipe off any excess. This step seals the wood, increases its natural grain, and protects it from moisture.
Step 5: Let It Cure and Enjoy
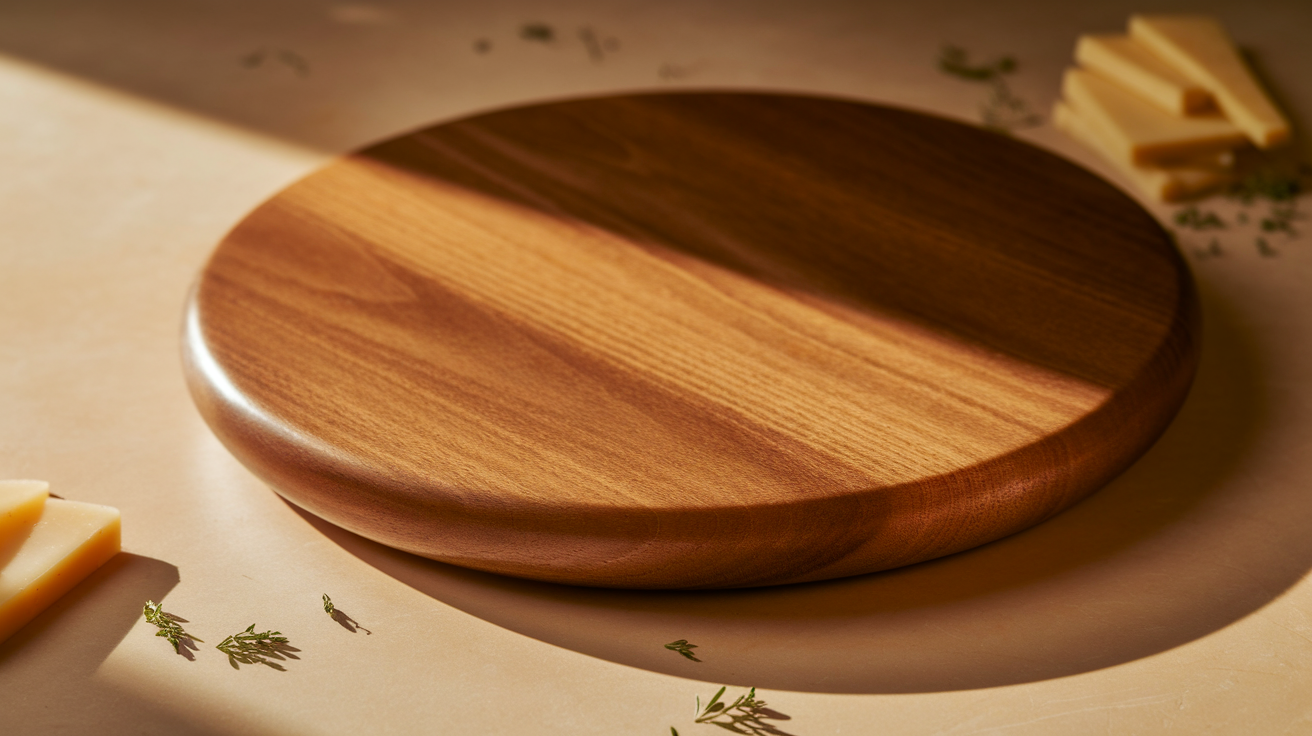
After applying the finish, let the board cure fully according to the product’s instructions—usually 24 to 48 hours.
This makes sure the finish sets properly and keeps the board safe for food use. Once cured, the board is ready for any spread of cheeses, fruits, and snacks.
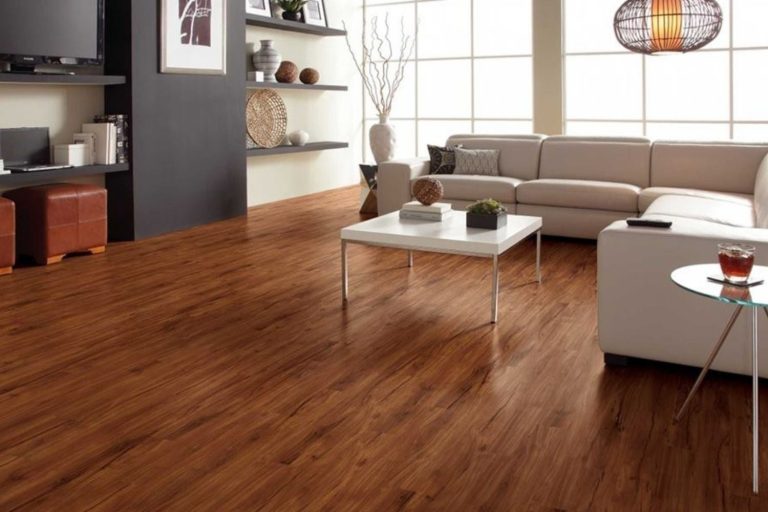
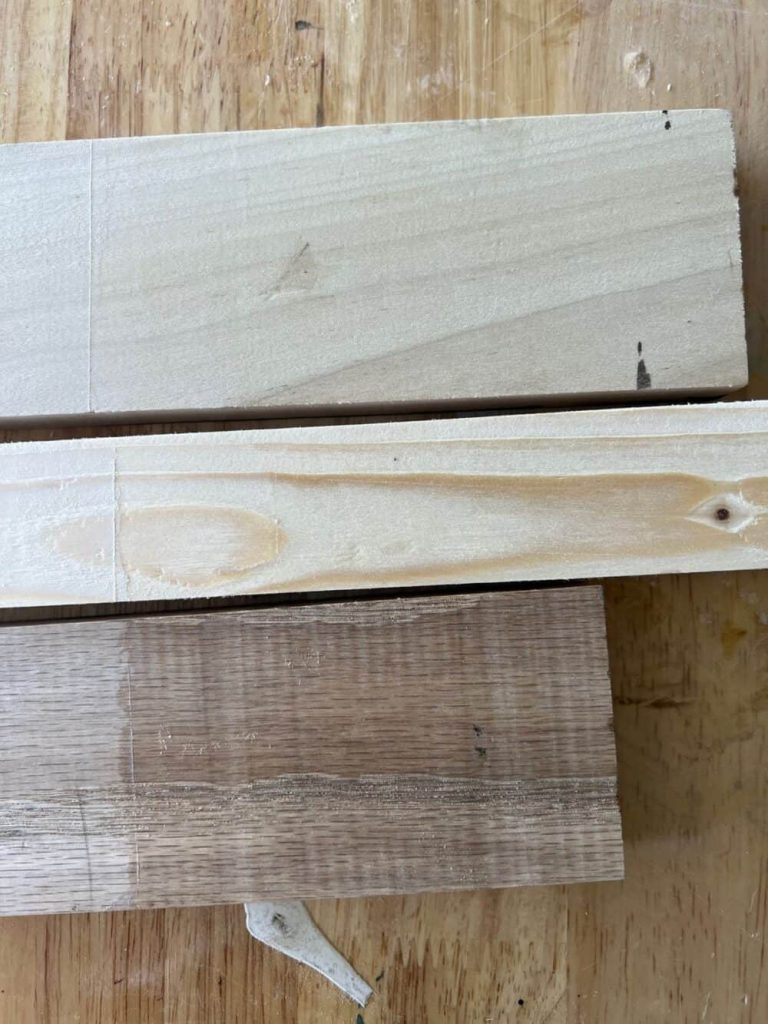
Best Wood Types for Charcuterie Boards
Choosing the right wood isn’t just about looks; it also impacts the board’s durability, safety, and overall feel.
Here’s a list of top wood choices for crafting a charcuterie board, with a quick note on why each is a great pick.
- Maple ($20 – $40 per board): Maple is a hardwood known for its tight grain, making it less porous and safer for food contact. Its light color gives a clean, classic look that suits any table setting.
- Walnut ($30 – $60 per board): Walnut offers rich, dark tones and excellent durability. It resists wear and adds a touch of style, making it a popular choice for stylish charcuterie boards.
- Cherry ($25 – $50 per board): Cherry wood ages beautifully, deepening in color over time. Its smooth grain makes it easy to work with and safe for serving snacks.
- Acacia ($15 – $35 per board): Naturally water-resistant and durable, acacia is both affordable and striking. Its varied grain patterns give the board a rustic, natural charm.
- Beech ($20 – $40 per board): Beech is a dense hardwood with a fine, tight grain that’s less likely to absorb moisture. Its pale tone offers a neutral, versatile base for food presentation.
- Teak ($40 – $70 per board): Teak contains natural oils that make it resistant to moisture and bacteria. Though pricier, it’s an excellent long-term investment for a high-quality board.
- Olive Wood ($50 – $80 per board): Olive wood stands out with its dramatic grain patterns and warm hues. It’s dense and durable, plus its unique look turns every board into a showpiece.
Ideas to Arrange a Charcuterie Board
Once the board is ready, it’s time for the fun part is arranging all the tasty treats! The way ingredients are displayed can make a huge difference, turning a simple spread into a feast for the eyes.
Here are creative ideas to arrange a charcuterie board that will impress guests and make snacking irresistible.
1. The Classic Sections Layout
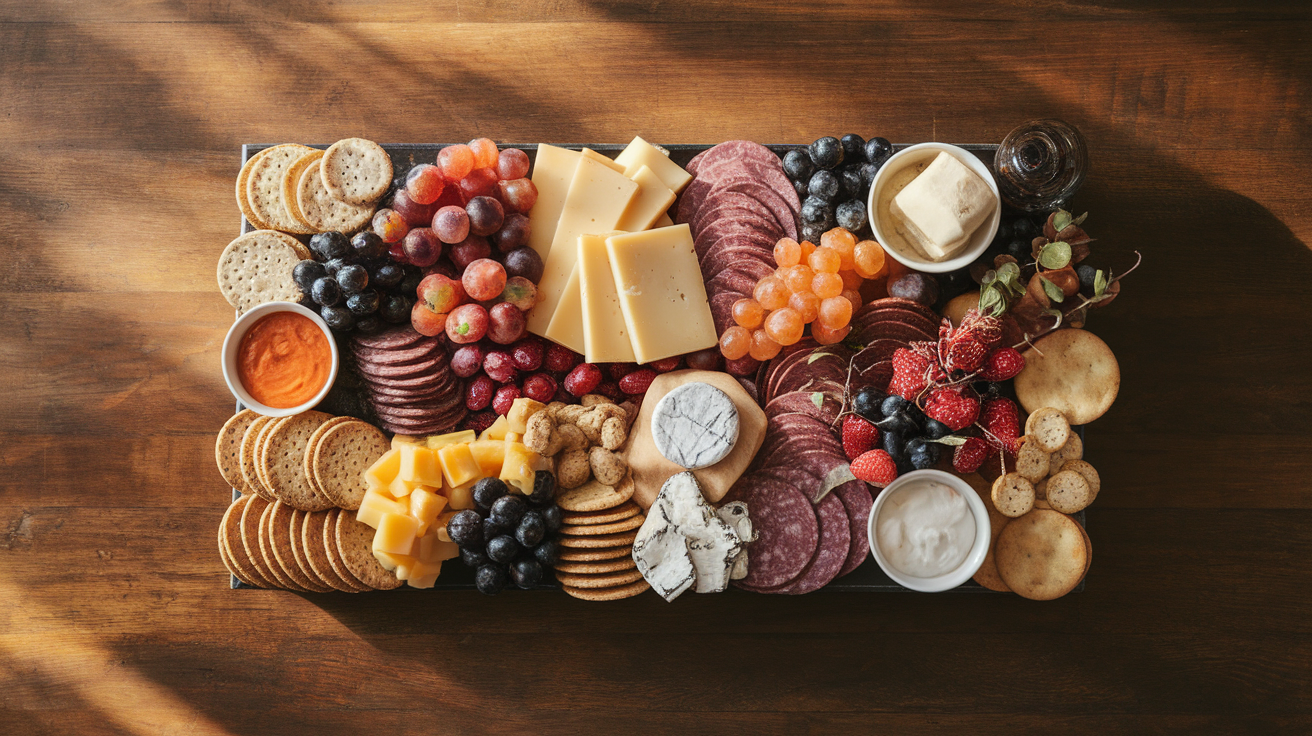
Divide the board into neat sections for cheeses, meats, fruits, and crackers. Start by placing the largest items first, like cheese wedges and small bowls of dips.
Then, fill the gaps with cured meats and smaller snacks. This layout keeps everything organized and easy to find, especially for larger groups.
2. The Flowing River Style
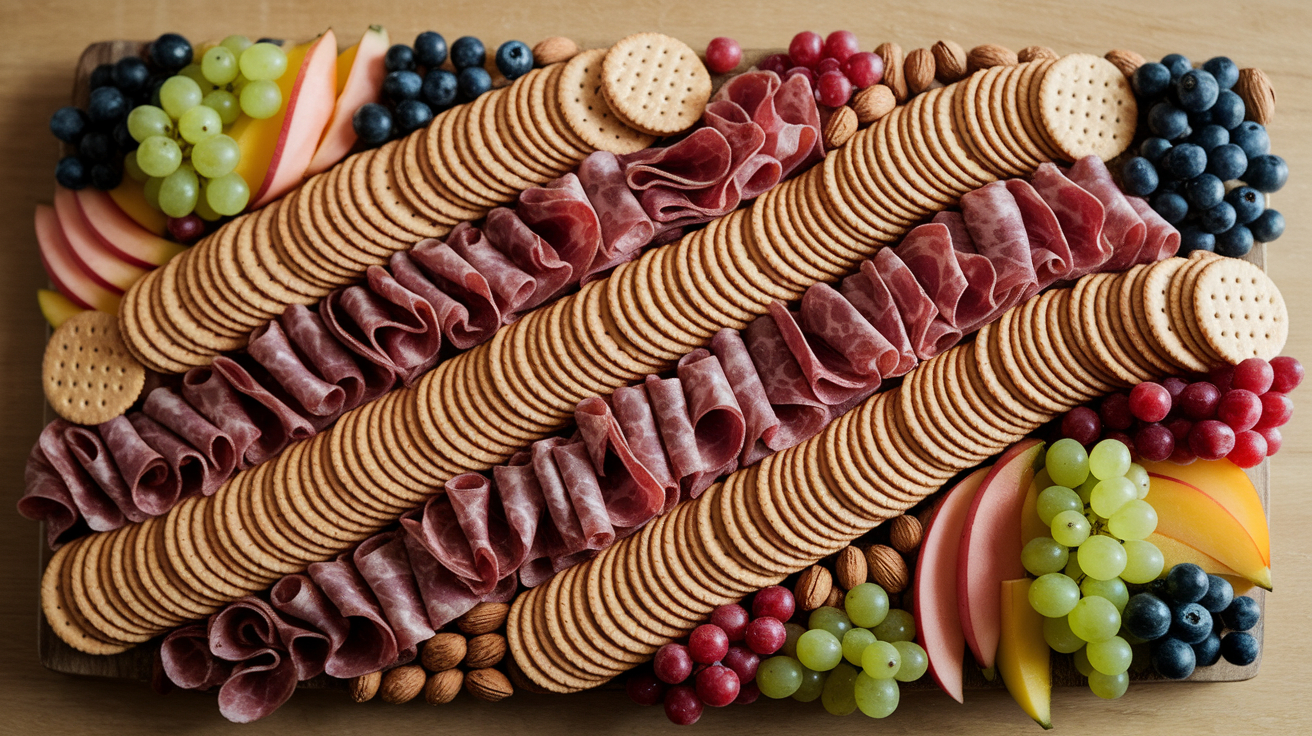
Create a visual “river” of treats flowing diagonally across the board. Begin with a line of crackers or meats down the center, then build around it with cheeses and fruits.
This layout draws the eye naturally across the board and feels abundant yet beautiful. Tuck smaller items like nuts and berries along the edges to fill the flow and fill empty spaces.
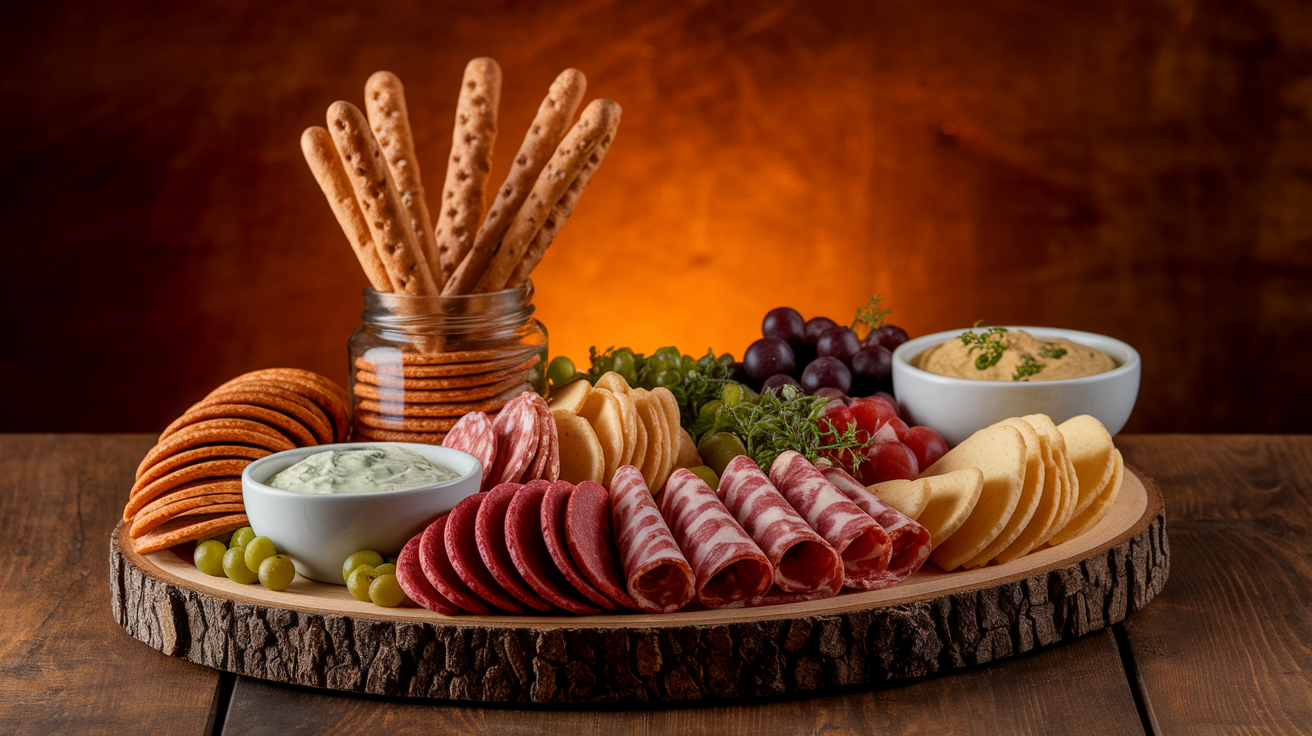
3. The Grazing Garden Look
Go for a more organic, garden-inspired arrangement by clustering items in small, natural-looking groups.
Place piles of grapes next to rounds of cheese, and let slices of salami gently fold like flower petals. Scatter fresh herbs like rosemary or thyme for extra charm.
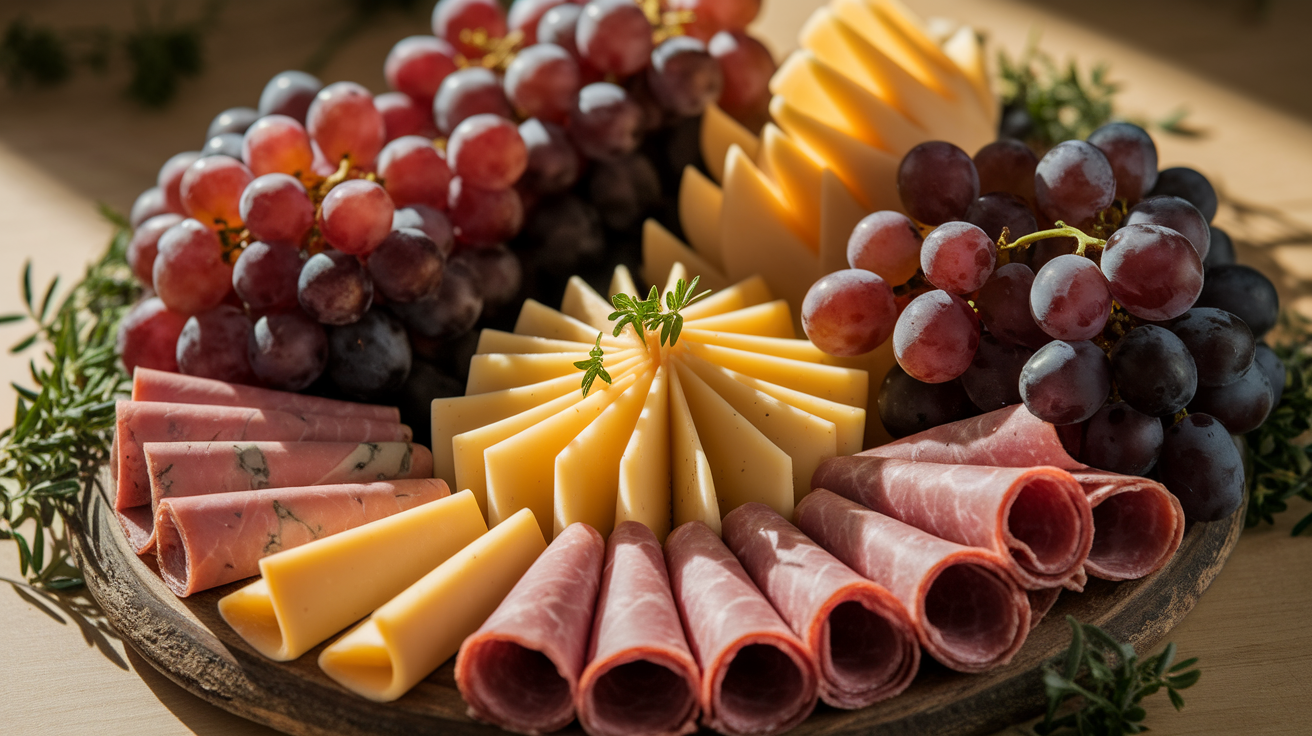
4. The Symmetrical Spread
For a balanced and eye-catching setup, try a symmetrical arrangement. Place matching items on opposite sides of the board, like mirrored cheese wedges or twin piles of crackers.
Add visual interest by using colorful elements like bright berries or olives in repeating patterns.
Symmetry creates a sense of order and style, making it especially appealing for more formal gatherings or holiday celebrations.
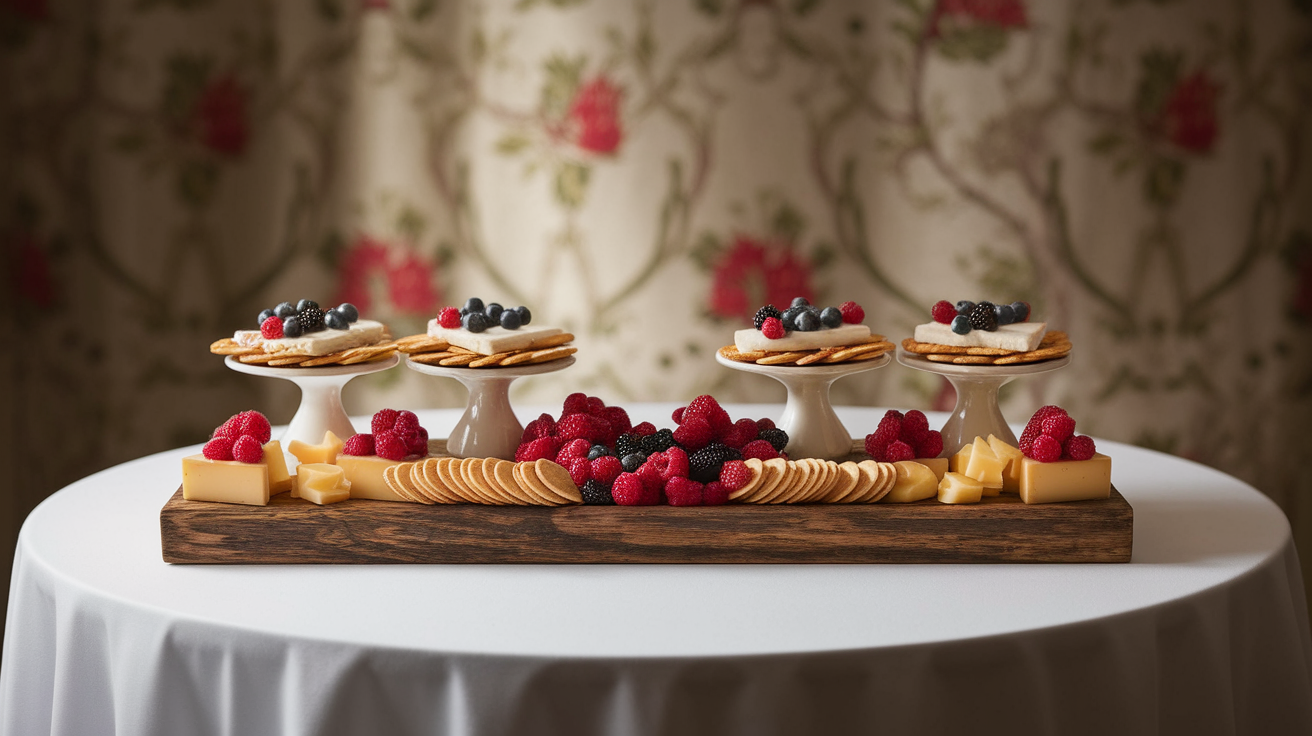
5. The Layered Height Approach
Add dimension to the board by including layers and height. Use small bowls for dips or olives, and stack crackers or breadsticks vertically.
Highlighting some ingredients helps create visual interest and breaks up the flat surface of the board.
Conclusion
Crafting a wooden charcuterie board is more than just a DIY project, and it creates a centerpiece that brings people together.
Whether it’s a casual gathering or a special celebration, a handmade board adds that personal touch that guests always notice.
With the right supplies, a little creativity, and a bit of patience, anyone can turn a simple piece of wood into a beautiful serving board.
Plus, arranging the snacks becomes an art of its own! From rustic to cottage core, every choice adds character.
So, go ahead and enjoy the process, knowing the result will not only look amazing but also serve as a conversation starter at any event.