How to Build Cabinets – The Complete DIY Guide
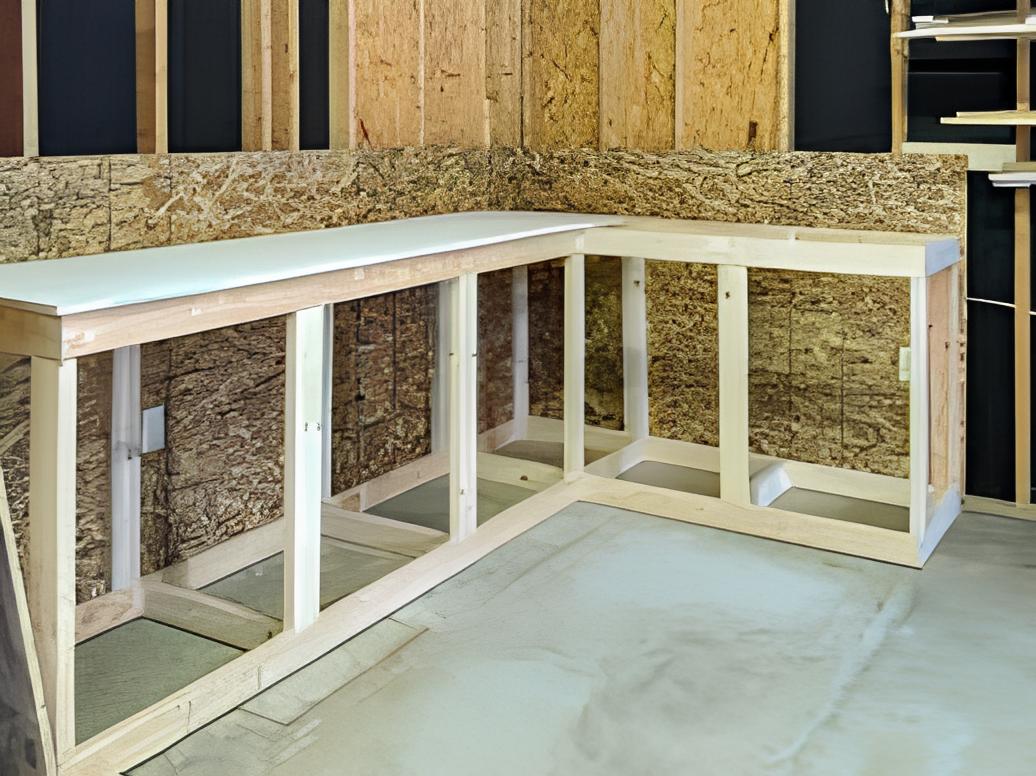
Are you someone who loves organizing things and looking for a creative way to add storage space to your home?
Building your cabinets might be the perfect solution for you! Learn how to create awesome storage space from wood!
Building an affordable DIY cabinet project might seem hard, but our simple guide will show you it’s easy and fun.
Design and build your cabinet for your home. These cabinets offer a smooth and custom look, blending beautifully with your home’s interior.
With just a little patience and a lot of creativity, you can change any ordinary wall into a storage haven.
In this step-by-step guide, we’ll guide you through the entire process using simple instructions, whether you’re a seasoned DIY enthusiast or a beginner. So, ready to start this cabinet-building process.
By the end, you’ll have stunning custom-built cabinets that not only change your room’s appearance but also give you the satisfaction of creating something with your own hands.
Let’s begin!
Why You Should Construct Your Cabinets
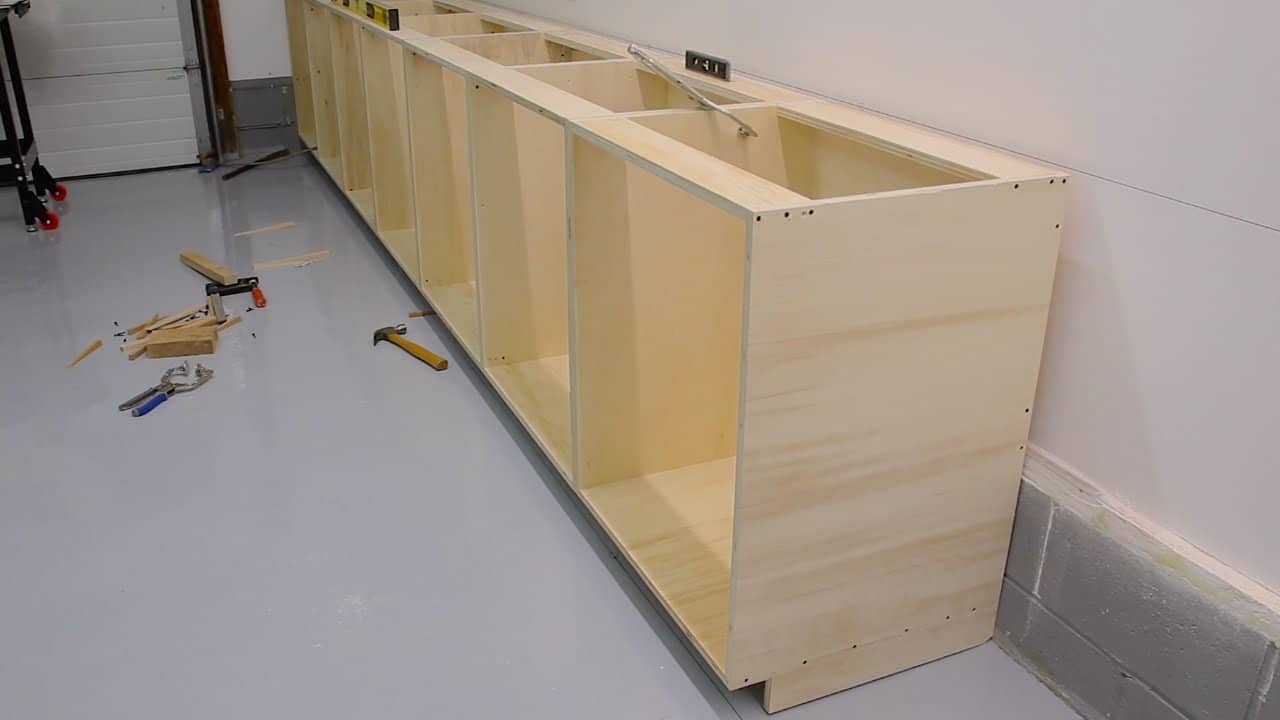
Making your easy DIY cabinet idea can be a fun and money-saving project. Here are some good reasons to consider doing it yourself:
1. Personalized Design
When you build your DIY cabinet, you get to decide how they look, their size, and their layout. You can make them fit perfectly in your kitchen or any space. You can also add special features like organizers to make them more useful.
2. Save Money
Buying ready-made cabinets can be expensive, especially if you want high-quality ones. But by making your own, you can save money on labor and use more affordable materials without sacrificing quality. You can even reuse materials from other projects.
3. Learn New Skills
Building cabinets is a chance to learn woodworking and carpentry. It’s a practical way to improve your DIY abilities and might affect you to take on more home improvement projects. As you work on the easy idea, you’ll develop problem-solving skills and learn more about construction techniques.
Cabinet Styles to Look After
When making a DIY cabinet, you can choose from different styles to suit your taste and needs. Two common styles are:
1. Face Frame Cabinet
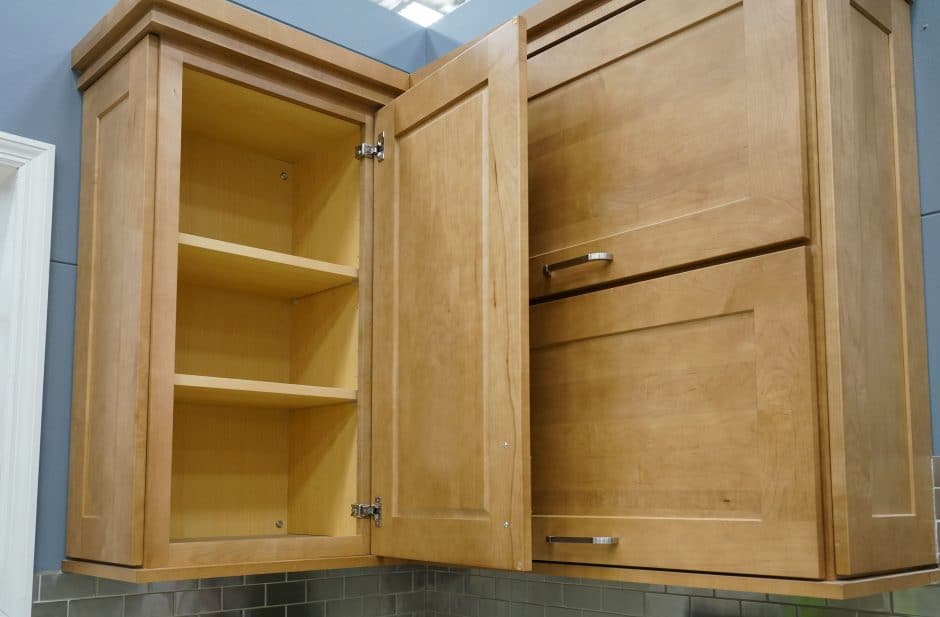
This style has a frame attached to the front of the cabinet box. It’s a classic look and adds strength to the cabinets. The doors are usually attached to the face frame, and you can see the joints from the outside. You can get creative with design options, like inset doors, for a more traditional feel.
2. Frameless Cabinets
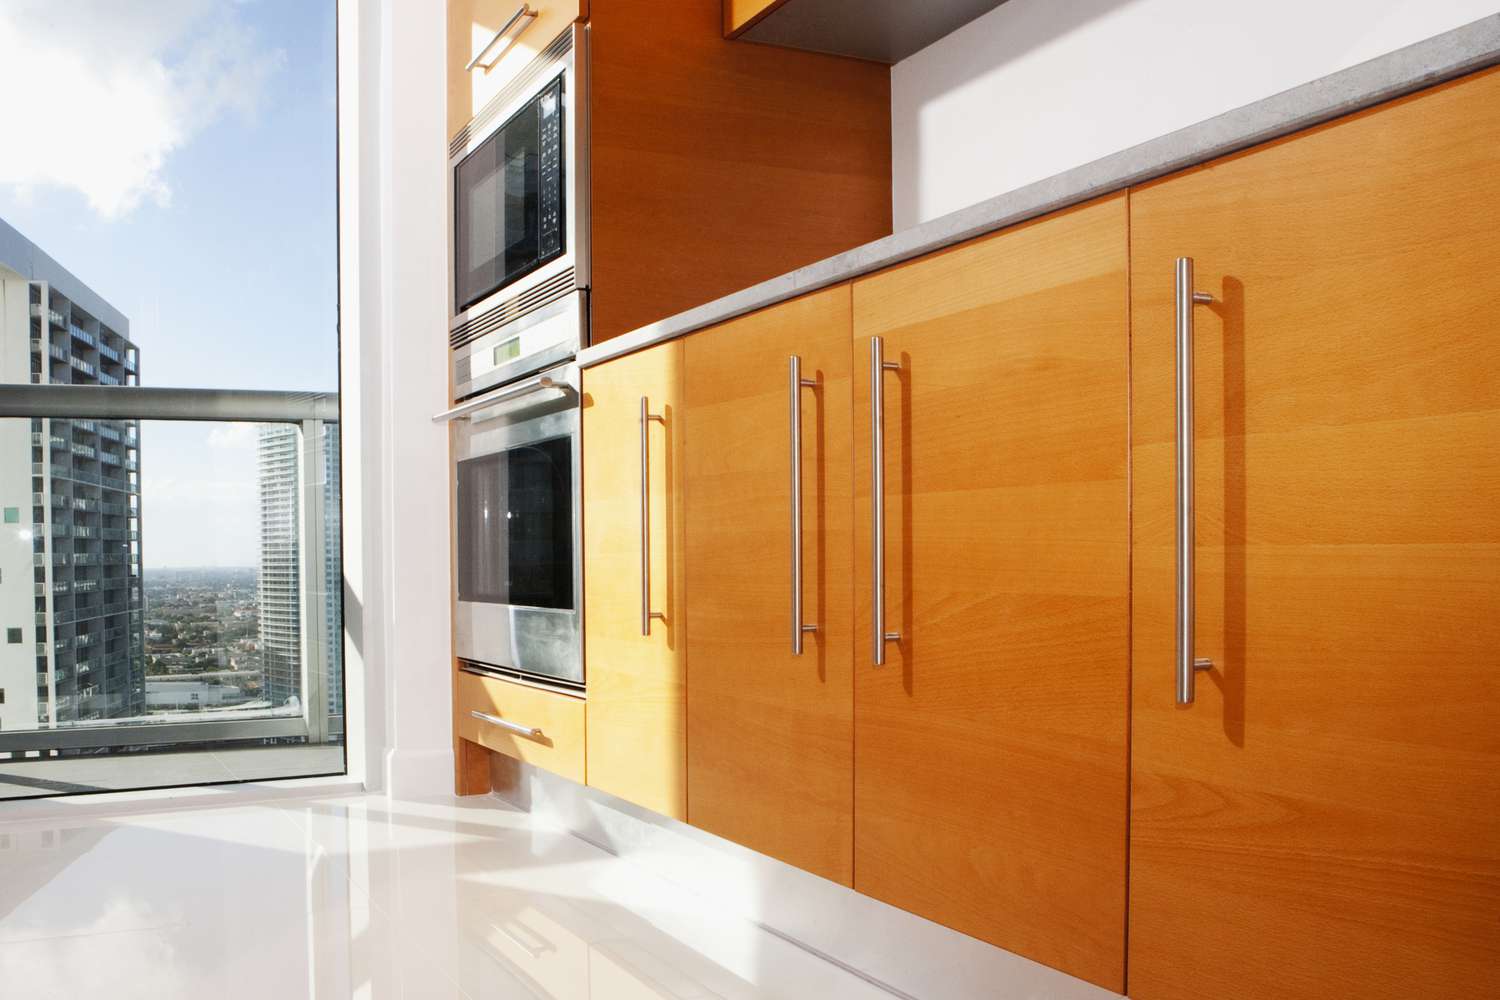
This DIY cabinet doesn’t have a face frame. Instead, the doors cover the whole front surface, giving a sleek and modern appearance. Frameless cabinets maximize interior space, making them perfect for the latest designs. Their clean lines make them popular in modern kitchens.
How to Build a DIY Cabinet Box
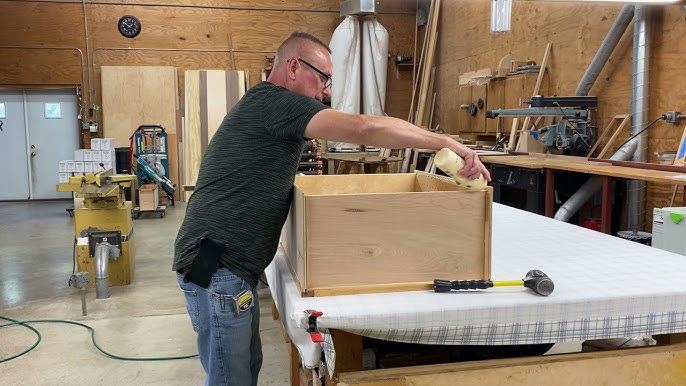
This step-by-step cabinet-building process is more fun; let’s start with
Step 1: Start with The Dimensions
Begin by deciding on the size of your cabinet. Measure the space where you want to place it and determine the height, width, and depth accordingly. Sketch a rough plan to think of the final product, ensuring it complements the surrounding decor.
Think carefully about how the cabinet’s design can maximize that quality, such as including adjustable shelves or space for larger items.
Step 2: Choose the Right Materials
Select suitable wood or plywood for your DIY cabinet. Plywood is more stable and less flat to warping, making it a popular choice. Ensure that the material is of good quality and fits your budget.
Think of checking different wood finishes and textures to find the perfect match for your home. Keep in mind that hardwoods like oak, cherry, or maple can add a touch of style, while birch and pine offer a more affordable option.
Step 3. Create a Design and Layout
With the dimensions and materials in mind, design the cabinet layout. Consider shelving, drawers, and any specific features you want. Having a well-thought-out design will make the construction process smoother.
Experiment with various layouts to make effective storage space and convenience. Don’t forget to include a back panel in your design to provide additional stability and prevent dust from entering the cabinet.
Step 4: Simplify Cuts with Your Table Saw
Use a table saw to cut the large panels to the desired sizes. A table saw provides accurate and straight cuts, making your DIY cabinet in good condition and neater.
Remember to wear appropriate safety gear and take your time to achieve accurate cuts. Use a crosscut sled to ensure clean and square cuts for the smaller components of the cabinet.
Step 5: Put All Parts Together
Assemble the main box of the cabinet using nails, screws, or joinery techniques like dovetail joints or pocket screws. Double-check the measurements and alignments to ensure everything fits tightly.
Use wood glue in addition to fasteners for extra durability. Before assembly, do sanding the edges and surfaces of the wood to ensure a smooth finish.
Step 6: Make Pocket Holes for Face-Frame Assembly
If you prefer a traditional face-frame cabinet, create pocket holes in the cabinet sides. These holes will later be used to attach the face frame securely. Take care to space the pocket holes evenly to ensure a balanced frame. If you go for a frameless or European-style cabinet, skip this step and focus on creating a clean and smooth exterior.
Step 7: Cut Face Frame Parts
Cut the face frame pieces to match the cabinet dimensions. The face frame adds strength and a polished look to your cabinet. Consider adding decorative elements like metallic accentsor changing the edges for an extra touch of style. Ensure that the face frame pieces have the exact width to maintain a uniform appearance around the cabinet.
Step 8: Attach the Frame to The Case
Fix the face frame to the front of the DIY cabinet using pocket holes or other appropriate joinery. This step adds the finishing touch to the box’s structure.
Ensure the frame aligns perfectly with the box edges for a smooth appearance. If you’re using a frameless design, focus on aligning the edges accurately and secure the panels.
Step 9: Make Doors on The Table Saw
Craft the cabinet doors using the table saw. Choose a design that complements the overall style of the cabinet. Experiment with different door styles, such as shaker, raised panel, or glass inserts, to achieve the desired aesthetic. Add a rabbet or groove to the back of the door frame to hold the door panel securely in place.
Step 10: Mount the Doors on The Cabinet
Attach the hinges to the DIY cabinet box and then mount the doors. Ensure that they hang evenly and open smoothly. Take your time to adjust the hinges for a perfect fit and smooth operation. You can also consider installing soft-close hinges to prevent the doors from slamming shut and to add a touch of luxury to your cabinet.
Step 11: Installation and Finishing
Finally, install the cabinet in its designated space. Check for any adjustments needed and add a finish of your choice, such as paint or stain, to protect and improve the appearance of your newly built cabinet.
Think of adding DIY cabinet hardware installation, like knobs or pulls, that complements the cabinet’s style and ties the whole look together. Take pride in your artistry and enjoy the satisfaction of a beautiful, custom-made cabinet that will serve you for years to come.
Tools and Materials Needed to Build Cabinets
To build an affordable DIY cabinet project, you’ll need basic woodworking tools such as a tape measure, circular saw, jigsaw, router, power drill, hammer, chisels, clamps, and a level. Additional tools like a table saw, miter saw, and biscuit joiner can also be helpful for more advanced projects.
Benefits of Building Cabinets
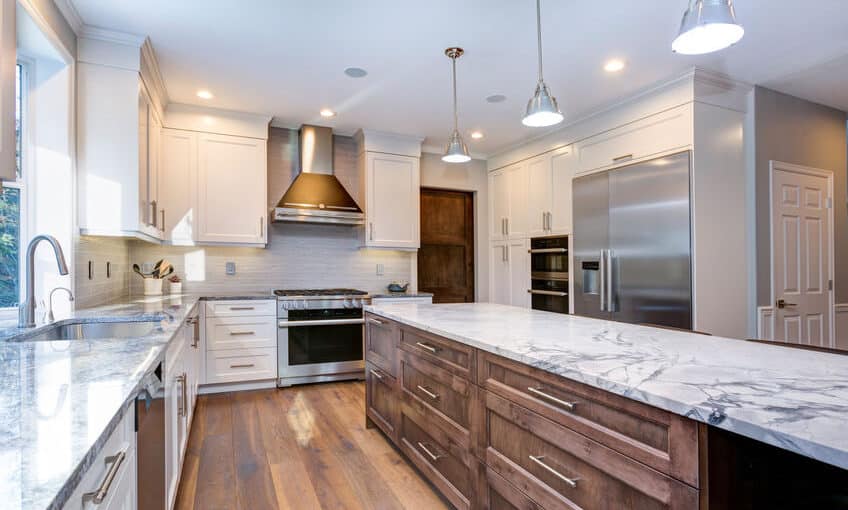
1. Cost-Effectiveness
Building your cabinets can save you money compared to purchasing pre-made ones. By using affordable materials and doing the work yourself, you cut down on labor costs, which can be significant in traditional cabinet purchases.
Moreover, you have the freedom to customize the design, avoiding unnecessary expenses while still achieving a high-quality look. This DIY cabinet offers excellent value for money and can fit any budget, allowing you to distribute funds to other home improvement projects.
2. Convenience
Crafting your DIY cabinets allows you to fit them to your specific needs and space, bringing practicality and organization to a whole new level. You can create storage solutions that maximize your available area, making them more efficient.
Additionally, having complete control over the design process ensures that the cabinets complement your existing decor and layout, resulting in a stylish home interior.
3. Appearance
Step-by-step cabinet Building offers the advantage of personalization, making it a rewarding and creative try. You get to select the materials, finishes, and styles that match your taste and home aesthetic perfectly.
This level of customization ensures that your cabinets become a standout feature of your living space, adding a unique touch that reflects your personality and preferences.
4. Quality
When you build cabinets yourself, you have control over the artistry and materials used, guaranteeing top-rated results. This means you can use high-quality components, such as solid wood or premium DIY cabinet hardware installation, ensuring the cabinets are strong, durable, and built to last for years to come. DIY cabinets also allow accurate measurements and fittings, resulting in a polished and professional final product.
Types of Cabinets
1. Base Cabinet
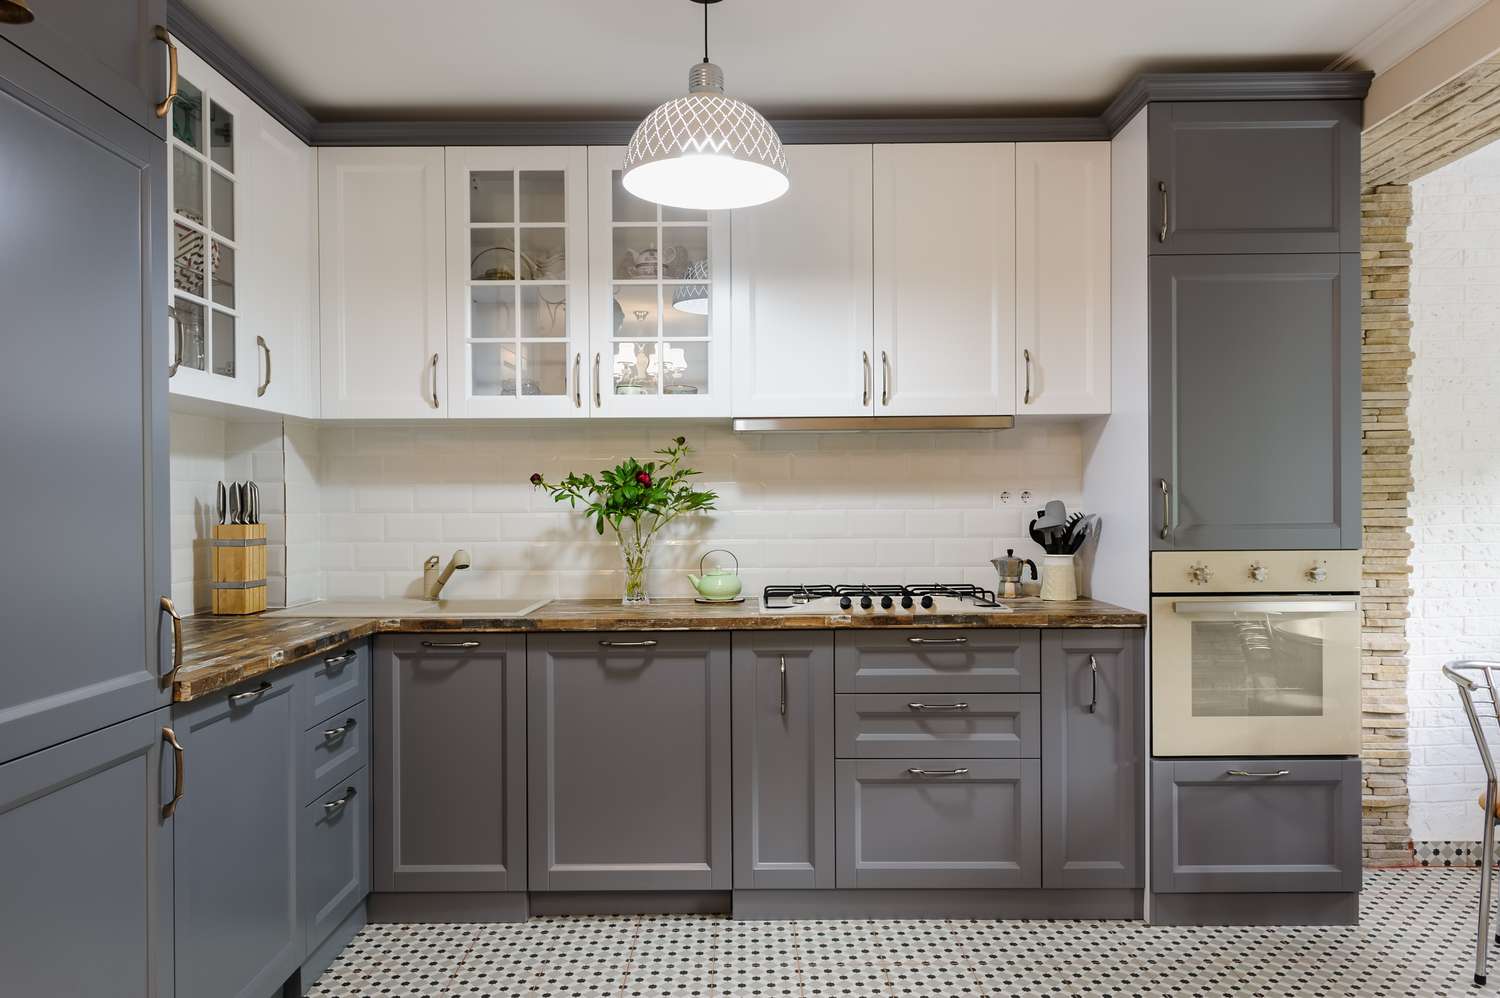
A base cabinet is a fundamental element of any cabinet system. It sits on the floor and supports countertops. To build a base cabinet, start by cutting plywood panels for the sides, back, and bottom. Add a solid wood frame on top for sturdiness. Install shelves and drawers inside for storage. Attach a front face frame and doors. Finally, secure the cabinet to the wall and floor.
2. Corner Wall Cabinet
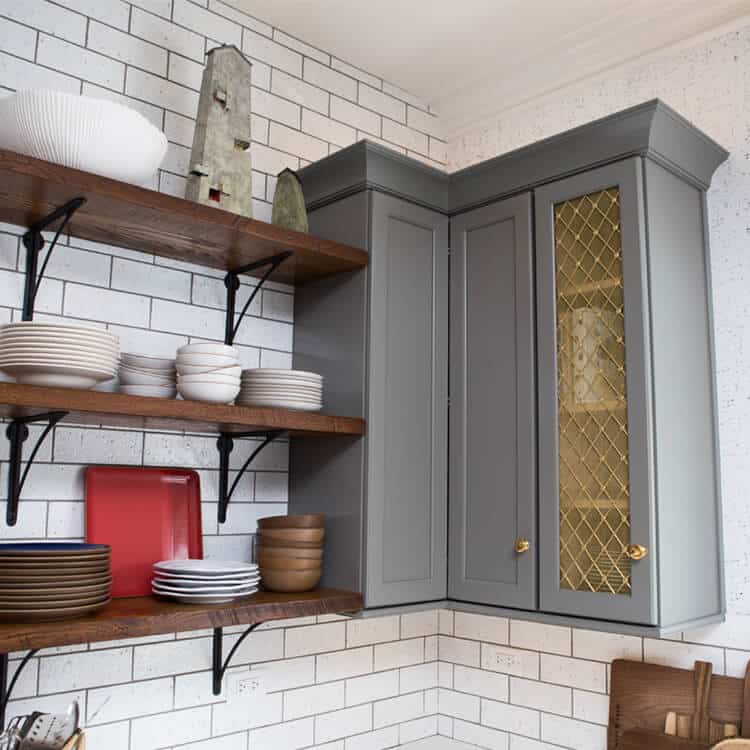
Corner wall cabinets are perfect for utilizing space efficiently. To construct one, cut triangular plywood panels for the sides. Add a solid wood frame around the front. Install shelves or rotating trays inside for easy access. Attach the DIY cabinet to the wall using hard brackets. Consider using a lazy Susan mechanism for better access to corner spaces.
3. Pullout Drawers Cabinet
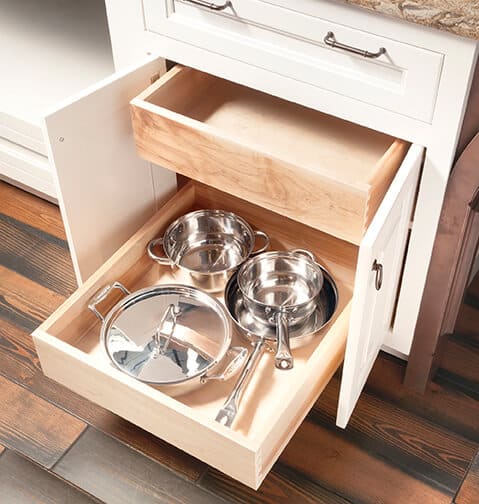
A pullout drawer cabinet has storage and organization. Begin by creating a box-like structure with plywood for the sides, back, and bottom. Install drawer slides inside the DIY cabinet for smooth movement. Cut plywood pieces for the drawers and attach drawer handles. Ensure each drawer fits comfortably and glides easily on the slides. Mount the cabinet to the desired location.
Conclusion
Alright, we’ve reached the end of our DIY cabinet-building guide! High five for making it this far! Building a cabinet can be a satisfying and enjoyable project.
You’ll learn to measure, cut, and put things together carefully, turning basic materials into impressive creations that show off your style and creativity.
Take your time when putting everything together, and don’t forget to sand and paint; that makes the cabinet look even better.
Along the way, you might face some challenges, but the happiness of learning and the feeling of achievement makes it all worthwhile.
This cabinet is not just a wooden structure; it has the potential to become a useful and pleasing piece of furniture, showcasing your skills and design gift to your loved ones.
Whether you’re new to DIY or experienced, creating something that’s uniquely yours is what makes it special.
So, keep exploring, keep building, and, most importantly, have fun! Happy building, and may your skills continue to grow and shine!
Frequently Asked Questions
How Do I Take Accurate Measurements for Stepwise Building Cabinets?
To ensure accurate measurements, use a high-quality tape measure and measure twice to double-check before cutting. Measure the space where the cabinets will be installed, considering height, width, and depth. Account for any obstructions like pipes or electrical outlets.
Should I Use Screws or Nails to Assemble the Cabinets?
While nails are quick and easy, screws provide a stronger and more durable joint. It’s recommended to use screws, preferably wood screws, along with wood glue to ensure the best construction.
Can I Build Cabinets without Any Woodworking Experience?
Easy DIY cabinet ideas can be challenging for beginners, but it is possible with dedication and patience. Start with simple designs and gradually move to more complex projects as you gain experience. Consider taking a woodworking course or watching tutorials to enhance your skills.
What Are Some Common Mistakes to Avoid when Building Cabinets?
Common mistakes include inaccurate measurements, not sanding surfaces properly, using low-quality materials, neglecting to pre-drill holes for screws, and rushing through the assembly process. Double-check your work at each stage to avoid errors.
How Do I Choose the Right Finish for My Cabinets?
The finish you choose depends on your preference and the cabinet’s intended use. Common options include paint, stain, or clear varnish. Consider the type of wood used, the overall style of the room, and the level of durability required for your finish selection.

